
how to remove mold from bathroom walls naturally usually comes down to two things: killing what’s on the surface, and fixing the moisture that keeps feeding it.
If you only scrub what you see, it often returns in the same corners, grout lines, and around the shower, sometimes within weeks. That’s why a “natural” approach still needs a plan: pick the right cleaner for the material, clean safely, then lower humidity so spores have less chance to settle.
One quick boundary: if you suspect a larger hidden problem, or anyone in the home has asthma or immune concerns, you may want a more cautious approach. According to CDC, people with asthma or other lung conditions can be more sensitive to mold exposure, and some situations warrant professional help.
What mold on bathroom walls usually means (and why it keeps coming back)
Bathrooms create the perfect mold environment: warm air, frequent steam, and surfaces that stay damp longer than you think. In real homes, regrowth tends to trace back to a few patterns.
- Humidity spikes after showers and no ventilation to clear it.
- Water that lingers on painted drywall, caulk edges, or textured walls.
- Soap scum and body oils that give mold something to “hold onto,” especially near tubs.
- Small leaks behind trim, around the shower valve, or under a vanity that never fully dries.
Also, not every “black spot” is the same. Some is mildew on the surface, some is mold embedded in porous material. The more porous the surface, the more careful you need to be.
Safety first: a quick reality check before you start scrubbing
Natural cleaners can still irritate skin or lungs, and disturbing mold can kick up spores. Keep the setup simple but intentional.
- Ventilate: open a window, run the fan, and keep the door ajar.
- Protect yourself: gloves, and ideally an N95/KN95 if you’re sensitive.
- Don’t mix chemicals: especially vinegar with bleach or ammonia-based products.
- Test a small spot on painted walls or natural stone before full cleaning.
According to EPA, you can typically handle small areas of mold yourself, but larger areas or ongoing moisture issues often require deeper investigation and remediation.
Self-check: what kind of bathroom-wall mold are you dealing with?
This fast checklist helps you decide whether DIY natural cleaning makes sense, and what “extra steps” matter most.
- Size: is it scattered specks, or a continuous patch?
- Location: near the shower line, ceiling corner, behind the toilet, around a window frame?
- Surface type: painted drywall, tile, grout, fiberglass surround, wallpaper, wood trim?
- Smell: musty odor even after cleaning suggests moisture trapped somewhere.
- Paint condition: bubbling, softness, or crumbling points to water damage under the surface.
If it wipes off easily and the wall feels solid, you’re often dealing with surface growth plus humidity. If the wall feels soft or the paint keeps lifting, cleaning may only be the short-term part of the solution.
Natural cleaners that actually work (and what to use them on)
For how to remove mold from bathroom walls without harsh fumes, these are the options that tend to perform best in most households. They’re not interchangeable, so match them to the surface.
Vinegar (good for many non-stone surfaces)
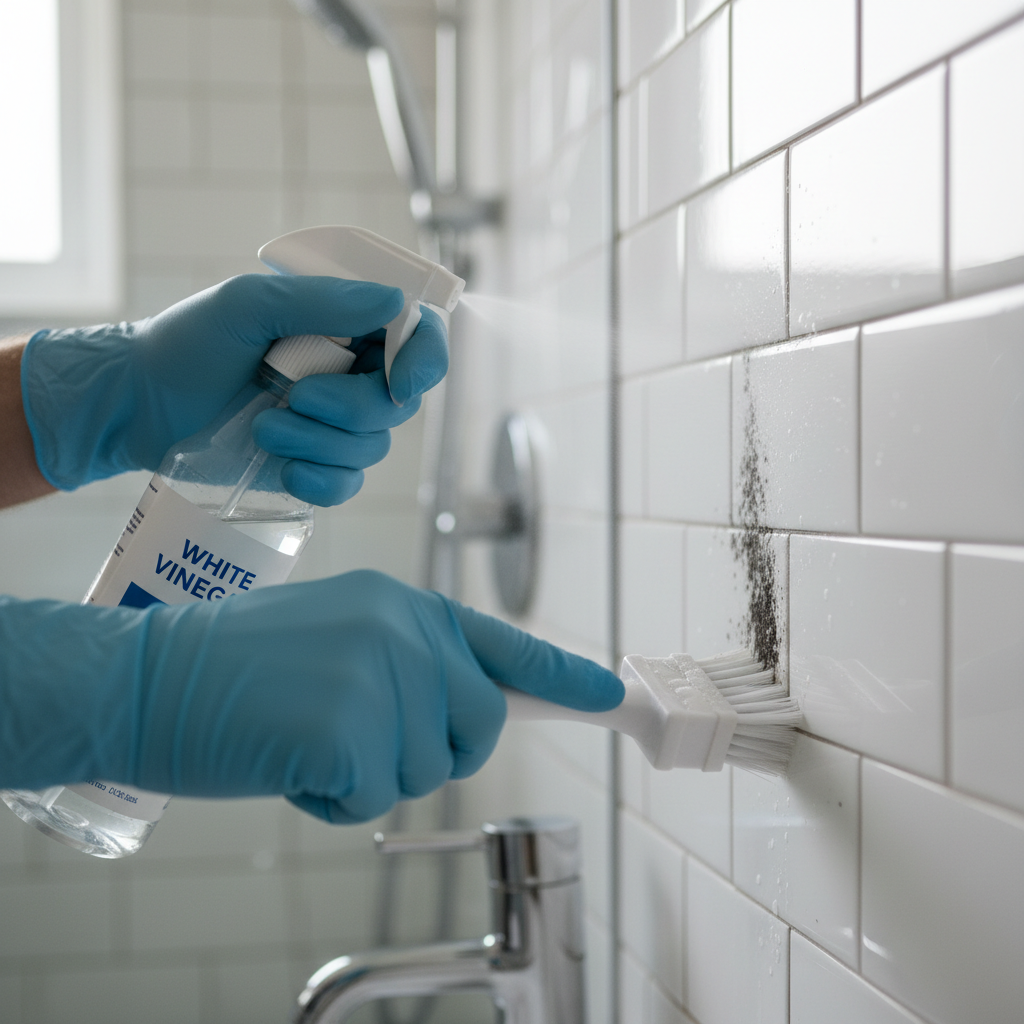
White vinegar is a common choice because it’s simple and doesn’t add strong chemical fumes. It works well on tile, sealed surfaces, and many painted areas if the paint is in good condition.
- Use: undiluted white vinegar in a spray bottle.
- Dwell time: let it sit 30–60 minutes before scrubbing.
- Avoid: natural stone like marble or travertine, vinegar can etch it.
Hydrogen peroxide (often helpful for grout and stubborn staining)
3% hydrogen peroxide can be useful where staining lingers after basic cleaning, especially on grout and some caulk lines, though results vary depending on porosity and age.
- Use: spray or dab, let sit about 10 minutes, then scrub lightly.
- Watch-outs: spot test painted walls, it may lighten some finishes.
Baking soda paste (good for scrub power, less for “kill”)
Baking soda shines when the issue is grime plus light mildew. Think of it as gentle abrasion with some odor control.
- Mix: baking soda + a little water to form a paste.
- Use: apply, scrub with a soft brush, rinse well.
Castile soap (best as a pre-clean step)
If the wall area has lots of soap scum, pre-cleaning makes a noticeable difference. Soap scum can shield mold from contact cleaners.
- Use: a few drops in warm water, wipe down, then follow with vinegar or peroxide.
Quick comparison table
| Natural option | Best for | Avoid on | Notes |
|---|---|---|---|
| White vinegar | Tile, sealed surfaces, many painted walls | Marble, travertine, limestone | Let it dwell longer for better results |
| 3% hydrogen peroxide | Grout, persistent spots, some caulk staining | Some painted finishes, colored fabrics | Spot test, can lighten some surfaces |
| Baking soda paste | Light mildew + grime, deodorizing | Delicate paint if scrubbed too hard | More “scrub” than “disinfect” |
| Castile soap + water | Soap scum removal before treatment | None specific | Use as step zero, then treat mold |
Step-by-step: how to remove mold from bathroom walls naturally
how to remove mold from bathroom walls tends to go smoother if you treat it like a short workflow, not a single spray-and-wipe.
1) Dry the area and remove surface grime
- Run the exhaust fan 10–15 minutes, or bring in a small fan if needed.
- If there’s soap scum, wipe with warm water + a little Castile soap, then rinse.
2) Apply your chosen cleaner and let it sit
- For tile/painted walls: spray undiluted vinegar, keep it wet for 30–60 minutes.
- For stubborn dots on grout: use hydrogen peroxide, allow about 10 minutes.
That “waiting” part feels slow, but it’s usually where the results come from.
3) Scrub gently, then rinse and dry
- Use a soft brush or non-scratch sponge, especially on paint.
- Rinse with clean water, then dry with a microfiber towel.
- Keep airflow going for at least 20–30 minutes to finish drying.
4) If staining remains, repeat once, then reassess
Some discoloration is “ghost staining,” not active growth. If the area is clean, dry, and odor-free, perfection is optional. If it feels damp or smells musty, the moisture source is still active.
Prevent regrowth: the moisture fixes that matter more than scrubbing
Natural cleaning helps, but preventing the next round is where most people win or lose. The goal is simple: keep surfaces dry and air moving.
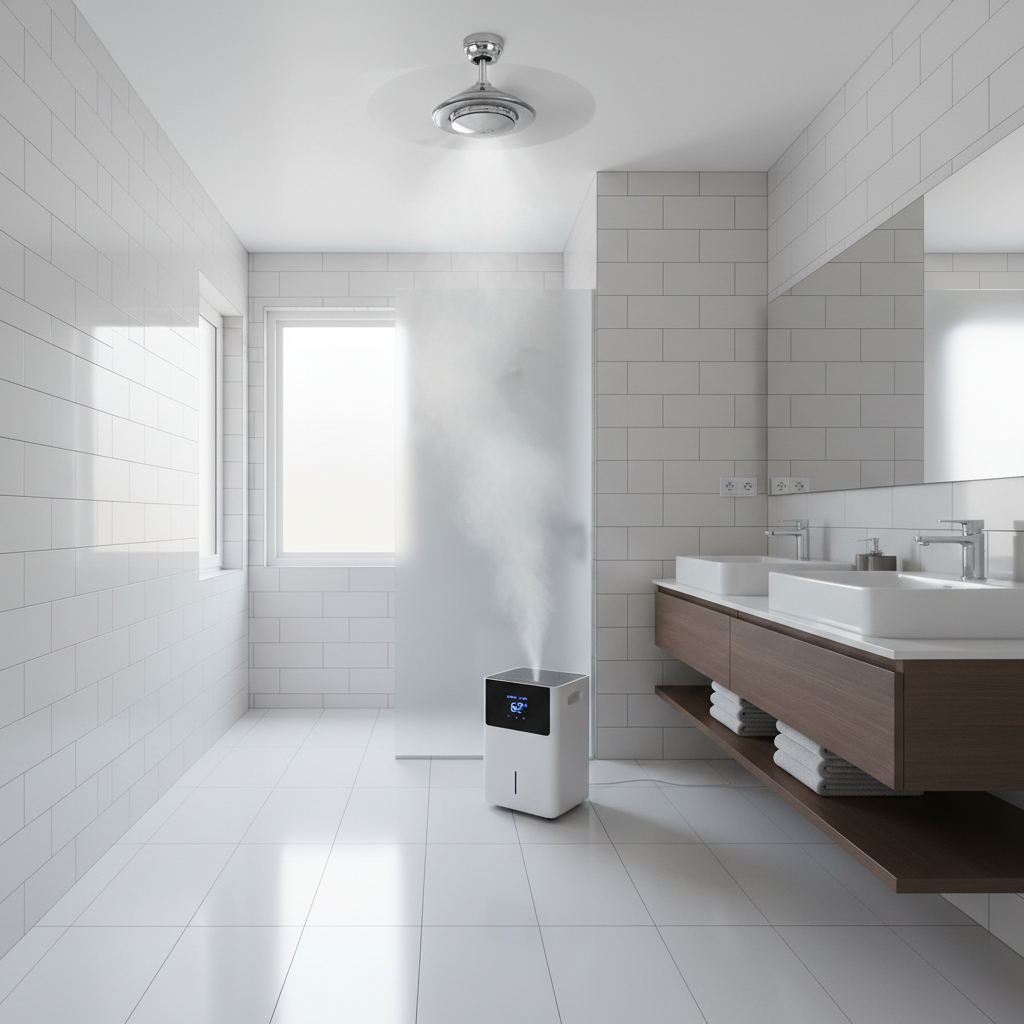
- Run the fan longer than you think: a common target is 20–30 minutes after a shower, depending on airflow and room size.
- Squeegee or towel the shower walls: it’s boring, but it cuts drying time a lot.
- Wash textiles weekly: bath mats and shower curtains can keep spores in circulation.
- Leave the door cracked: if privacy allows, it helps humidity escape.
- Use a small dehumidifier: especially in older homes, basements, or bathrooms without windows.
If you keep seeing mold in the same exact line, check caulk and grout. Worn caulk can trap water behind it, and no cleaner fixes trapped moisture.
Common mistakes that make “natural mold removal” fail
- Scrubbing too soon: you remove surface spots, but leave roots and staining behind.
- Using vinegar on stone: it can damage the finish, then the surface becomes harder to keep clean.
- Skipping the rinse: residue can attract dirt, and the area looks “dirty” faster.
- Painting over active mold: it may look better for a bit, then bubbles or spots return.
- Ignoring tiny leaks: that slow drip under the sink often creates repeat problems.
Key takeaway: if the wall does not dry fully between showers, mold has a reason to come back, even after a great cleaning day.
When it’s time to call a professional (or at least pause DIY)
DIY natural methods fit many small, surface-level situations, but there are clear lines where you should slow down and consider professional input.
- The affected area is large, keeps expanding, or appears after every cleaning.
- You notice soft drywall, crumbling grout, or peeling paint that spreads.
- There’s a strong musty smell that persists, especially near vents or baseboards.
- Anyone at home has asthma, severe allergies, is immunocompromised, or symptoms flare when the bathroom is used.
According to EPA, mold problems tied to water damage and hidden moisture often require addressing the source first, and in some cases trained remediation helps reduce exposure and prevent repeated damage. If you’re unsure, a licensed contractor or mold professional can help you figure out whether the issue is surface growth or a deeper moisture problem.
Conclusion: a simple plan you can actually keep up
how to remove mold from bathroom walls naturally works best when you treat cleaning and prevention as one job, not two separate chores. Use vinegar or peroxide thoughtfully, let it dwell, scrub gently, then dry the area fast.
If you want a practical next step, pick one prevention habit you’ll keep, either running the fan longer or wiping down wet walls, and do that for two weeks. If the spots stop returning, you’ve probably solved the real problem, not just the visible one.
FAQ
Is vinegar enough to remove mold from bathroom walls?
For light, surface-level growth on non-porous or sealed surfaces, vinegar often helps, especially if you let it sit before scrubbing. If the wall is porous or water-damaged, you may need repair work, not just cleaning.
Can I use baking soda alone for bathroom wall mold?
Baking soda is better as a scrubber and deodorizer than a “kill step.” Many people get the best results by cleaning grime with baking soda paste, then using vinegar or hydrogen peroxide depending on the surface.
What’s the safest natural way to clean mold if I have asthma?
Many people with asthma are more sensitive to airborne particles, so minimizing disturbance matters. Ventilate well, wear a well-fitting mask, and consider having someone else do the scrubbing, if possible. If symptoms worsen, it’s reasonable to consult a medical professional and consider professional remediation.
How do I remove mold from painted bathroom walls without damaging paint?
Start with a spot test, use a soft sponge, and avoid aggressive abrasives. Vinegar can work on many painted finishes, but scrubbing too hard is what usually damages paint, not the liquid itself.
Why does mold keep coming back after I clean it?
Most repeat cases trace to moisture that stays too long, weak ventilation, or water trapped behind caulk or paint. If the bathroom cannot dry fully between uses, the cleanup turns into a loop.
Is black mold on bathroom walls always dangerous?
Color alone doesn’t confirm the species or risk level. Any mold can irritate some people, and some situations are higher risk depending on health status and how much mold exists. If you’re concerned, treat it cautiously and consider professional evaluation.
Should I repaint after removing mold from the bathroom wall?
If the wall is clean, fully dry, and solid, repainting with an appropriate bathroom-rated paint can help resist moisture. If paint is bubbling or drywall feels soft, repair and moisture control usually matter more than paint choice.
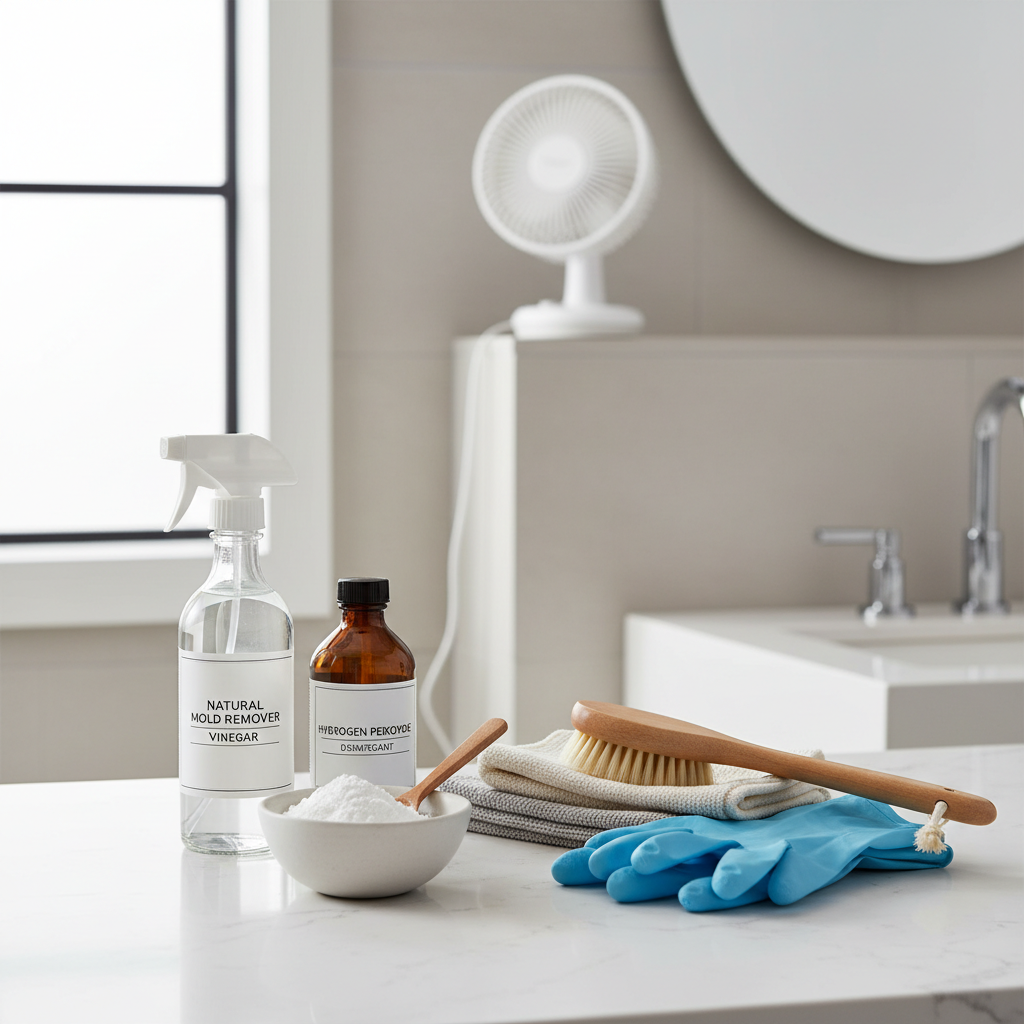
If you’re trying to keep the process simple, a “natural kit” approach often works: one spray bottle of vinegar for routine touch-ups, peroxide for grout spots, and a small fan or dehumidifier for drying, it’s not glamorous, but it’s the setup that tends to prevent the return visits.