
how to remove water stains from wood furniture usually comes down to one question most people skip: is the mark sitting in the finish, or has moisture reached the wood itself.
If you treat every ring the same way, you either waste time or make the finish look worse, and that’s where frustration starts, especially on dining tables, nightstands, or vintage pieces with unknown coatings.
Below is a practical, finish-friendly way to diagnose the stain, pick a method that matches it, and stop the next cup from leaving a new souvenir.
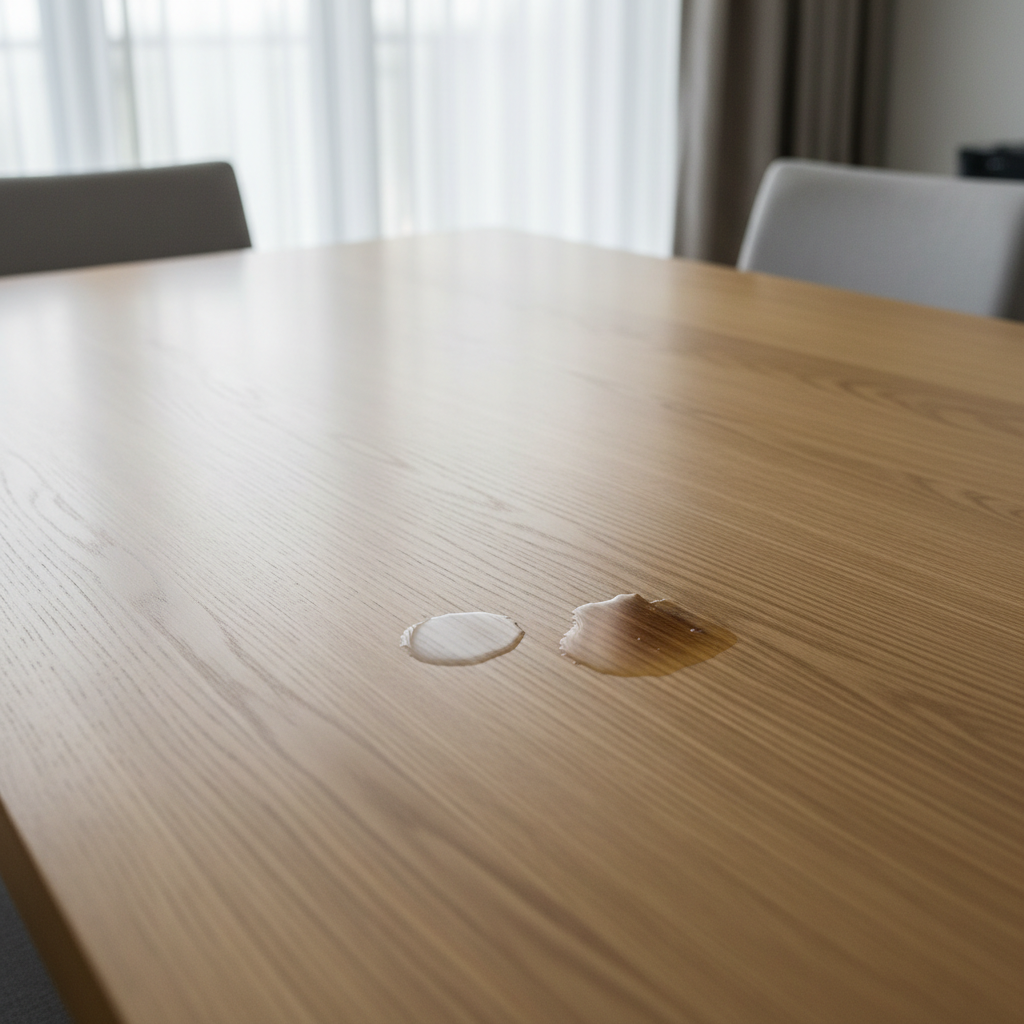
Identify what kind of water stain you have (this decides everything)
Most “water stains” on wood furniture fall into two buckets, and they behave differently because they live in different layers.
- White or cloudy rings: moisture trapped in the finish (common on polyurethane, lacquer, shellac). These often respond to gentle heat or mild polishing.
- Dark brown/black marks: moisture reached the wood and reacted with tannins or metal, or the finish failed. These often need oxalic acid (wood bleach) or refinishing steps.
A quick rule that’s usually reliable: if the stain looks milky, it’s in the top layer, if it looks like the wood color changed, it’s deeper.
Fast at-home checks (no lab coat required)
- Feel test: if it feels perfectly smooth, it’s often in the finish. If it feels slightly raised, rough, or “open,” water may have penetrated deeper.
- Edge look: a crisp white edge often points to finish haze, while a feathered dark edge can mean wood discoloration.
- Age of the mark: fresh stains are easier. Older dark stains typically need stronger methods.
Pick the right method: a quick comparison table
Use this table to choose a starting point, you can always escalate if the first attempt improves the mark but doesn’t fully remove it.
| Stain type | Best first try | Risk level | What success looks like |
|---|---|---|---|
| White ring / cloudy spot | Controlled heat (iron + cloth) or hair dryer | Low to medium | Cloudiness fades, finish clears |
| Sticky haze or dull patch | Gentle polish or paste wax buff | Low | Sheen returns, spot blends in |
| Dark stain in wood | Oxalic acid wood bleach (spot treat) | Medium | Darkness lifts, color evens out |
| Unknown finish / antique value | Least aggressive method + test spot | Varies | No new damage while improving mark |
Key point: for how to remove water stains from wood furniture, starting too aggressive is the common mistake, not the other way around.
Remove white rings: 3 methods that work in real homes
White rings are usually trapped moisture in the clear coat, so your goal is to gently drive that moisture out or reflow the finish without scorching it.
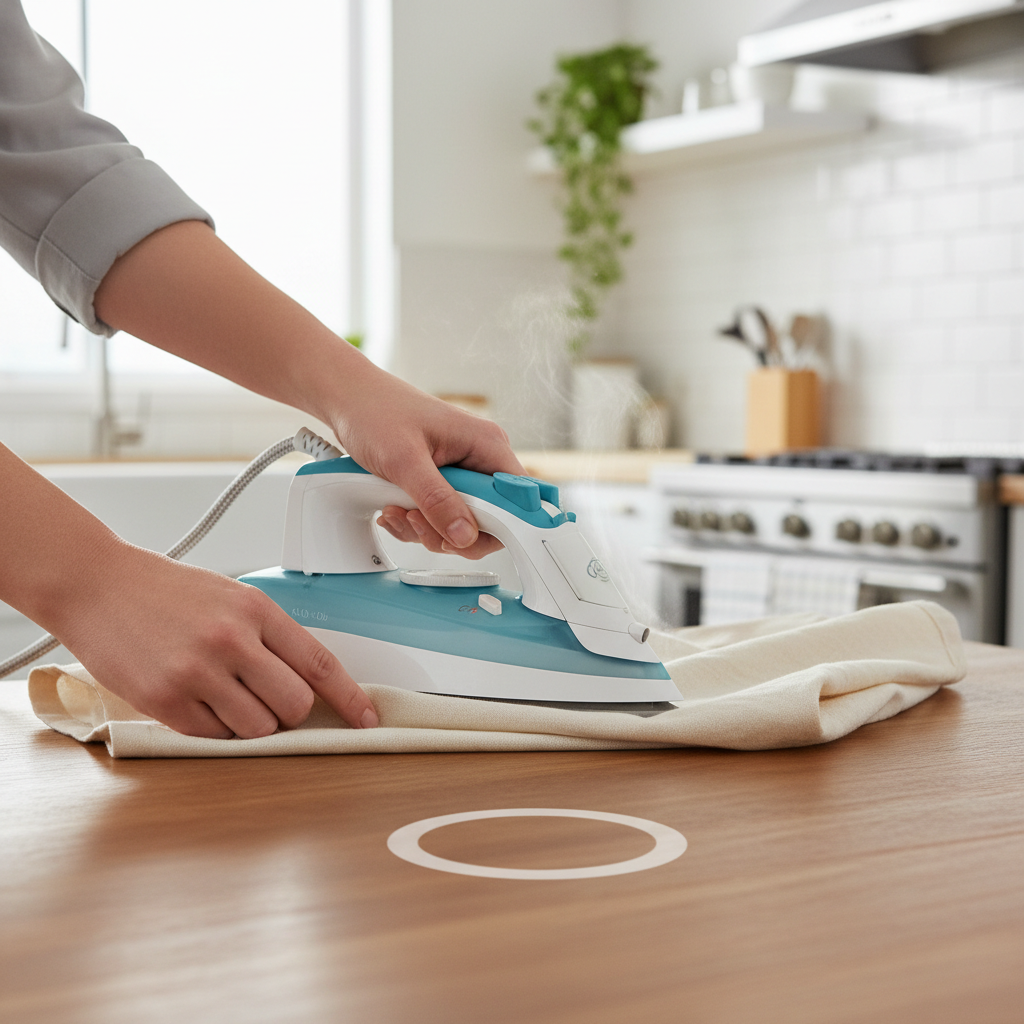
Method 1: Iron + cotton cloth (controlled heat)
- Set an iron to low heat with no steam.
- Place a clean cotton cloth (t-shirt or dish towel) over the ring.
- Touch the iron to the cloth for 5–10 seconds, lift, check, repeat.
- Stop once the haze fades, then buff lightly with a soft cloth.
This tends to work well on many modern finishes, but if you see any softening, tackiness, or shine change, pause and switch methods.
Method 2: Hair dryer (safer, slower)
- Set to warm, not hot.
- Hold 6–10 inches away and move constantly.
- Work in 30–60 second passes, check often.
This is the “I’m nervous but I still want progress” option, it’s also friendlier for pieces with thinner finishes.
Method 3: Paste wax buff (when the ring is mostly gone)
- Apply a small amount of paste wax with a soft cloth.
- Let it haze, then buff gently with the grain.
Wax won’t magically erase a deep mark, but it can reduce the visibility of a faint ring and even out sheen differences after heat treatment.
Remove dark water stains: what usually works, and what to avoid
Dark stains often mean moisture moved past the finish, so heat tricks rarely help much. You’re dealing with discoloration in the wood fibers, and that’s why the fix looks more like spot restoration.
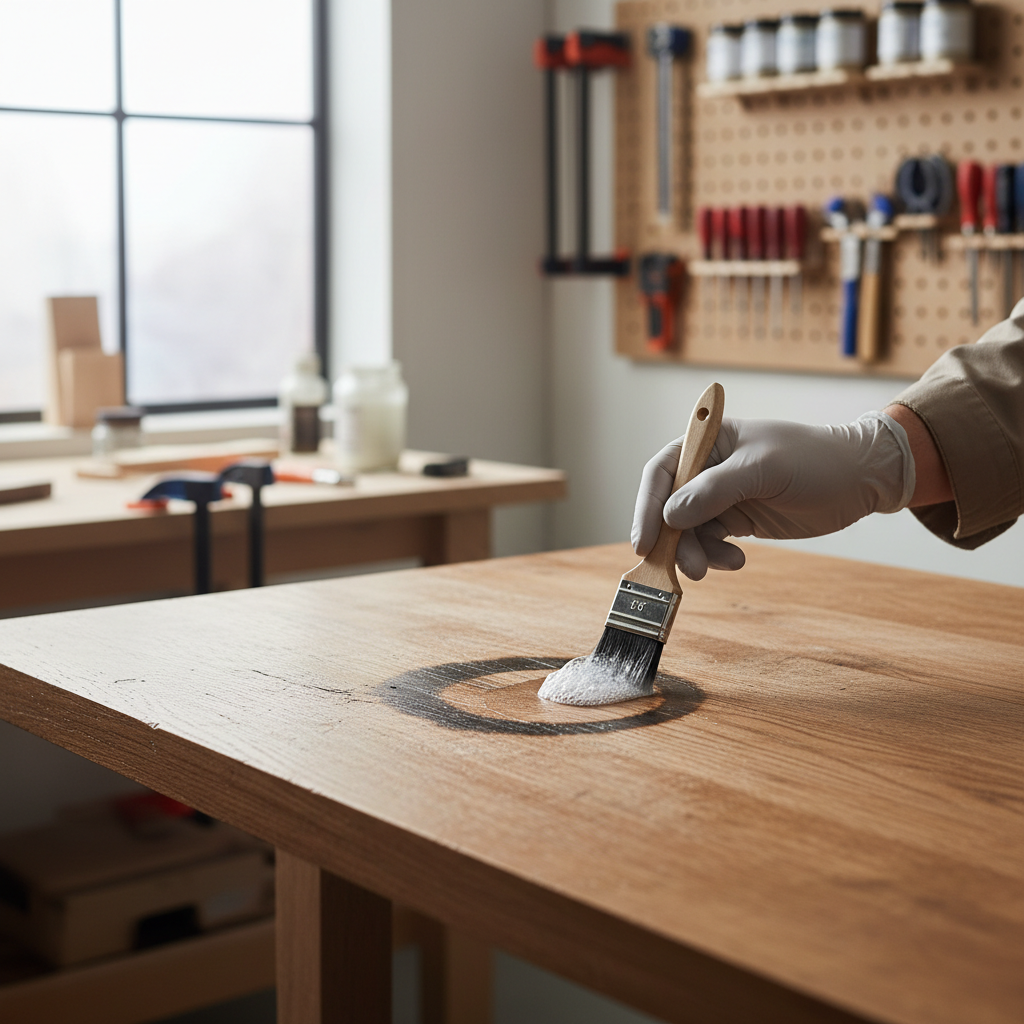
Spot-treat with oxalic acid (wood bleach)
Oxalic acid is commonly used in woodworking to lighten dark water and iron stains. Many hardware stores carry it as wood bleach. Follow the product label, and if you have any doubt about the finish or surrounding materials, test in a hidden area.
- Clean the surface gently and let it dry fully.
- Lightly sand the stained spot only enough to open the finish if needed, many times you must remove the topcoat for the bleach to reach the wood.
- Apply the solution carefully with a small brush or cotton swab, keep it on the stain, not everywhere.
- Let it work, then neutralize/rinse as directed, and allow thorough drying.
- Re-sand lightly, then restore color if needed, and recoat the finish to seal it.
Safety note: wear gloves and eye protection, provide ventilation, and keep the product away from kids and pets. If you’re sensitive to chemicals or the piece is valuable, it’s reasonable to consult a refinishing professional.
What to avoid on dark stains
- Household bleach: it often doesn’t target tannin/iron staining effectively and can create uneven, washed-out patches.
- Aggressive sanding across a big area: you can quickly dish the surface or cut through veneer.
- Over-oiling: oils can darken surrounding wood and make color matching harder later.
Step-by-step: a safe escalation plan (so you don’t overdo it)
If you want a simple “do this, then that” approach, this sequence tends to protect the furniture while still getting results.
- Step 1: Clean gently with a barely damp cloth, then dry.
- Step 2: If the mark is white, try hair dryer first, then iron method if needed.
- Step 3: Buff with paste wax or a gentle furniture polish to blend sheen.
- Step 4: If the mark is dark, stop heat methods and consider oxalic acid spot treatment.
- Step 5: Seal the repaired area with a compatible finish, otherwise the stain often returns.
A lot of people get stuck between Step 3 and Step 4, because the table looks “almost” better. If the discoloration remains dark, it usually won’t clear without addressing the wood itself.
Common mistakes that make water stains look worse
Most mishaps come from moving too fast or mixing products that don’t belong together on a finished surface.
- Too much heat in one spot: you can print the cloth texture into soft finish or create a shiny “hot spot.” Keep moving, check often.
- Using abrasives immediately: magic erasers, scouring pads, or harsh compounds can cut through sheen, then the “stain” becomes a permanent dull patch.
- Skipping a test area: even common methods can react differently on lacquer vs. shellac vs. polyurethane.
- Not sealing after deep repair: when you lighten a dark stain, the wood becomes more vulnerable until you recoat it.
According to the U.S. Environmental Protection Agency (EPA), safer chemical use includes following label directions and ensuring ventilation during use, which applies directly when you use wood bleaches or strong solvents indoors.
Prevention: keep the stain from coming back
Once you learn how to remove water stains from wood furniture, you start noticing the real villain is usually routine, sweaty glasses, plant pots that trap moisture, and hot takeout containers.
Small changes that help a lot
- Use coasters that have a cork or felt bottom, hard coasters can scratch and still allow condensation runoff.
- Add a tray under plants, and lift pots occasionally so the surface can dry.
- Use placemats on dining tables, especially with kids’ cups.
- Refresh wax periodically if your piece tolerates wax, it adds a sacrificial layer on top of the finish.
If a surface gets wet, wipe it quickly and dry it, that one habit prevents most white rings.
Conclusion: the quickest win is choosing the right “lane”
If you only remember one thing, remember this: white rings usually sit in the finish and respond to gentle heat, dark stains usually live in the wood and need a different approach. That simple split saves time and keeps you from sanding a perfectly good topcoat.
If you want a clean next step, start with the least aggressive method that matches your stain type, take photos as you go so you can judge progress honestly, and stop once the mark blends into normal viewing distance.
If you need a more hands-off option, or the piece has veneer, antique value, or a tricky dark stain, a local furniture refinisher can often tell you in minutes whether spot repair makes sense or if a partial refinish is more realistic.