
How to clean ceramic tile floors naturally usually comes down to two things: removing gritty soil that scratches the surface, then breaking down the sticky film that makes tile look dull.
If you have kids, pets, or you just hate that “chemical cleaner” smell lingering in the house, natural methods are a practical upgrade, but they work best when you match the right DIY mix to the mess.
This guide walks through a realistic at-home routine, what to avoid on ceramic and grout, and a few “if this, then that” fixes for common problems like haze, stains, and lingering odor.
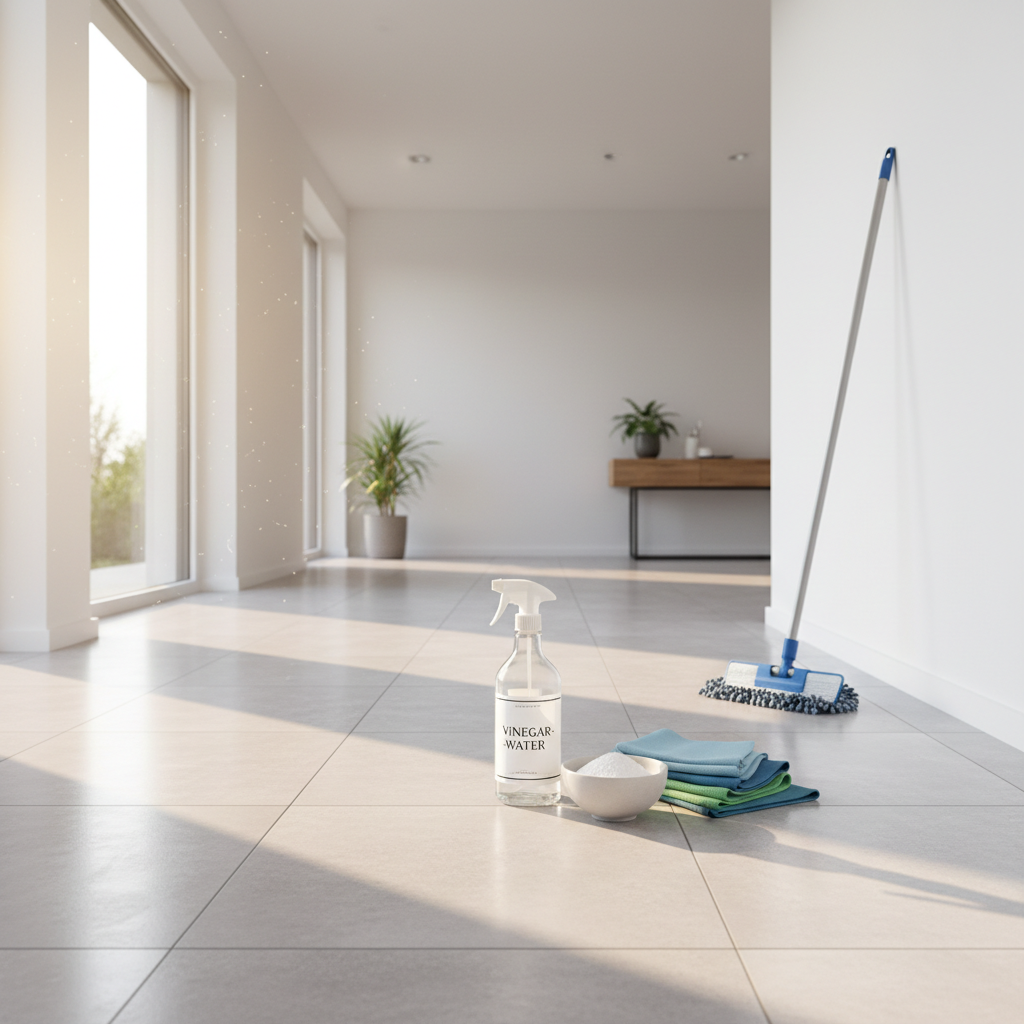
Start with the “why”: what makes ceramic tile look dirty
Ceramic tile itself is generally durable, but most “dirty tile” complaints come from buildup sitting on top of the surface, or grime embedded in grout lines. A few real-world culprits show up again and again.
- Loose grit (sand, tracked-in dirt) that gets smeared when you mop too soon
- Soap residue from too much cleaner, leaving a tacky film
- Kitchen grease that bonds to tile and turns dust into sludge
- Grout discoloration from moisture, spills, and ground-in soil
- Hard-water minerals that can leave a cloudy haze in some areas
One quick mindset shift helps: cleaning tile is often less about “stronger product,” more about “better sequence.” Dry first, then wet clean, then rinse if needed.
Quick self-check: which cleaning path should you take?
Before mixing anything, figure out what you’re dealing with. This keeps you from scrubbing for an hour and getting mediocre results.
- Looks dull but not “dirty”: likely cleaner residue or hard-water haze
- Feels sticky under socks: usually too much soap, or a cleaner that wasn’t rinsed
- Dark grout lines: embedded soil, maybe mild mildew in damp rooms
- Greasy near stove/fridge: needs a degreasing step before general mopping
- White crusty spots: mineral deposits, often respond to mild acid (used carefully)
If you’re unsure, test any DIY mix on a small hidden spot, especially if the tile has a special finish or the grout is sealed.
The core natural routine (works for most homes)
This is the “weekly baseline” that covers most ceramic tile floors without harsh chemicals. The big win is that it’s repeatable and hard to mess up.
1) Dry clean first (non-negotiable)
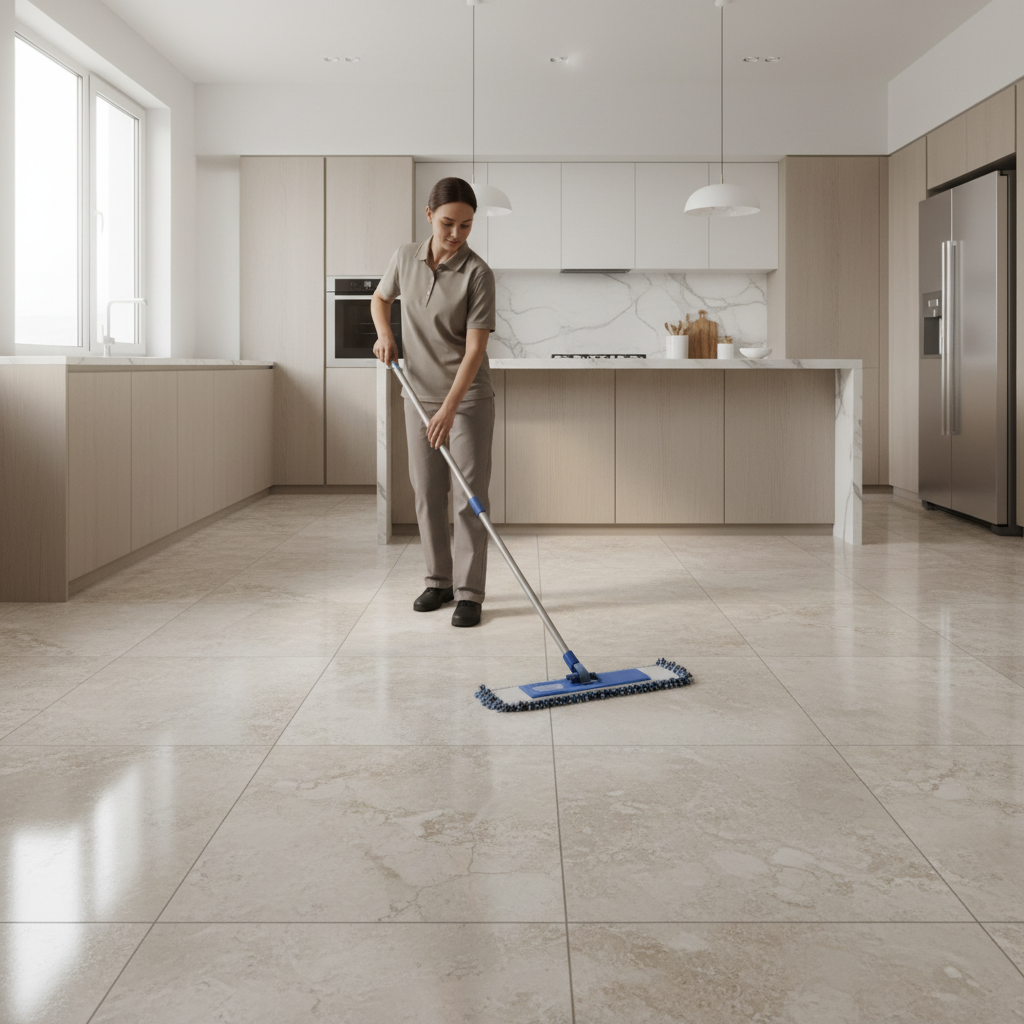
Vacuum with a hard-floor setting or sweep with a soft broom, then run a dry microfiber pad over high-traffic lanes. You’re trying to remove fine grit that can scratch and also turn mop water into muddy paste.
2) Mix a gentle natural mop solution
- Warm water: 1 gallon
- Castile soap (unscented or light scent): 1–2 teaspoons
Less soap beats more soap. If you see suds, you likely used too much, and that’s how floors end up sticky.
3) Damp mop, don’t flood
Wring the mop until it’s just damp, then clean in sections. Change water when it turns gray, which sounds obvious, but it’s the difference between “cleaned” and “spread around.”
4) Optional rinse for a squeaky finish
If the floor tends to haze, do a second pass with plain warm water. It’s not glamorous, but it’s usually the missing step.
Natural grout cleaning that actually makes a difference
Grout is porous, so it holds onto oils and soil. You can clean tile perfectly and still feel like the room looks dingy because the grout stays dark.
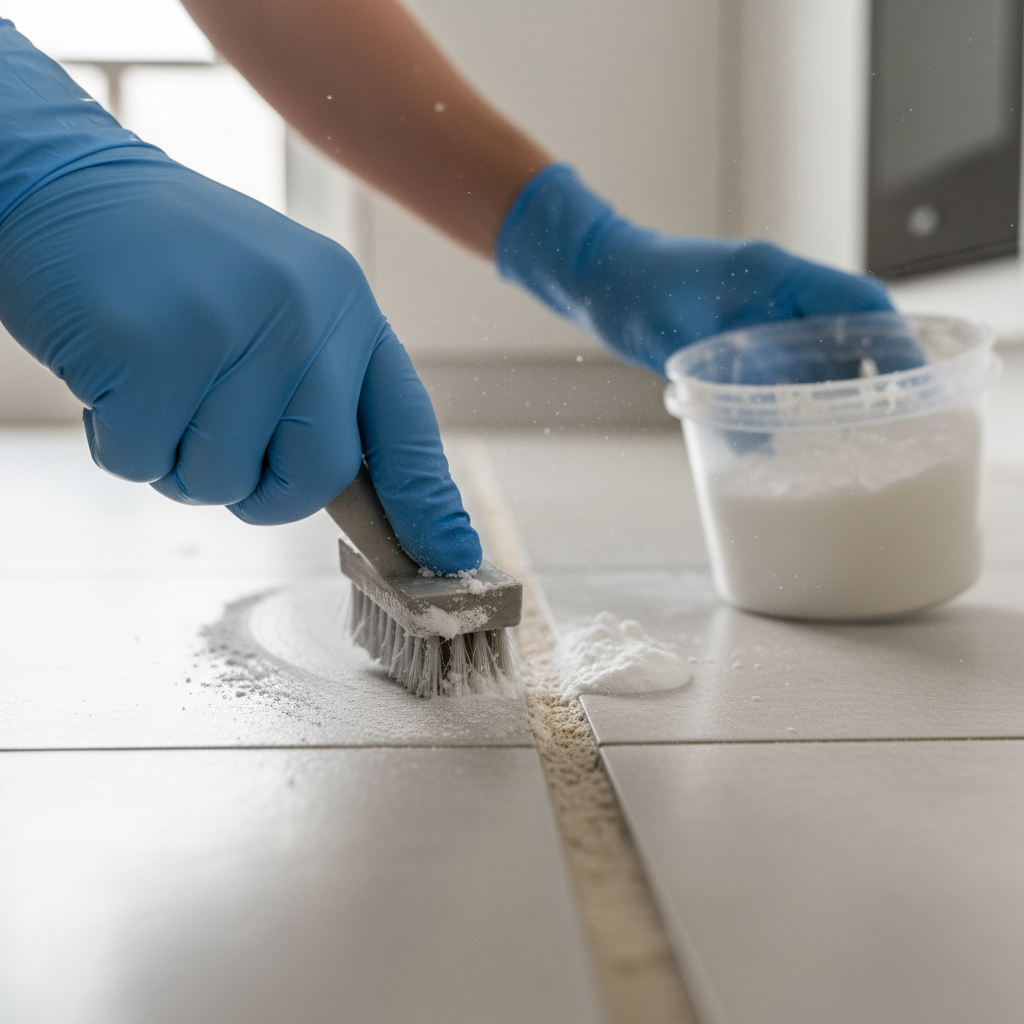
Baking soda paste (most common “starter” method)
- Mix baking soda with a little water until it becomes a thick paste
- Spread along grout lines, let sit 5–10 minutes
- Scrub with a soft grout brush or old toothbrush
- Wipe up with warm water, then dry with a towel
For many households, this alone is enough, especially if the grout is just dirty, not permanently stained.
If you need extra lift: vinegar spray (used carefully)
For ceramic tile (not natural stone), a light vinegar-water spray can help cut film and brighten grout. Use it as a short-contact rinse, not an all-day soak.
- Spray 50/50 white vinegar and water onto the grout area
- Wait 2–3 minutes
- Scrub lightly, then rinse thoroughly with clean water
Important: vinegar is acidic, so don’t use it on stone (like marble or travertine) and avoid repeated heavy use on grout if you’re worried about weakening it over time. If your grout is crumbling, skip the acid and consider a pro opinion.
Common problem fixes (haze, grease, odors, and stains)
This section is where most people finally get the “oh, that’s why it keeps coming back” moment. Pick the problem you see most.
Cloudy haze after mopping
- Cut soap way down, then do a plain-water rinse pass
- Dry with a clean microfiber towel to prevent minerals from air-drying onto tile
- If you suspect hard water, try distilled water for the rinse once and compare
Greasy kitchen traffic lanes
- Pre-clean with warm water and a tiny amount of castile soap
- Agitate with a microfiber pad (it grabs oils better than string mops)
- Rinse once so grease doesn’t redeposit
Musty smell around grout
It can be simple dampness, or it can signal moisture getting under the surface. According to the U.S. Environmental Protection Agency (EPA), controlling moisture is key to preventing mold growth. If the odor keeps returning even after cleaning and drying, checking ventilation and humidity usually matters more than changing cleaners.
Spot stains (coffee, juice, pet accidents)
- Blot quickly, then use a baking soda paste on grout-adjacent stains
- Rinse well, dry fully
- If stains reappear, it may be wicking from below, which is a different problem than surface dirt
Natural cleaner cheat sheet (what to use, and when)
If you like having a simple “menu” of options, this table covers the most common natural approaches for ceramic tile floors and grout.
| Goal | Natural option | Best use | Watch-outs |
|---|---|---|---|
| Everyday cleaning | Warm water + a few drops castile soap | Weekly mop, low buildup | Too much soap can leave residue |
| Film / tacky feel | Plain warm water rinse | After over-soaping or heavy cleaners | May need 2 passes |
| Grout brightening | Baking soda paste | Soil embedded in grout lines | Rinse well so powder doesn’t dry on tile |
| Mineral haze (ceramic only) | 50/50 vinegar + water (short contact) | Hard-water film on tile/grout | Avoid stone surfaces, don’t overuse on weak grout |
| Sanitizing support | Steam mop (water only) | Periodic deep clean without chemicals | Excess heat/moisture can stress some grout or loose tiles |
Key takeaways (so you don’t overthink it)
- Dry clean first, otherwise you mop dirt soup around the room
- Use less soap than you think, residue causes most “sticky tile” complaints
- Baking soda works for grout because it stays put long enough to break soil loose
- Vinegar is situational, fine for ceramic in many cases, not a universal daily cleaner
- Rinsing is underrated, especially in hard-water areas
When it’s worth calling in a pro (or at least getting advice)
Natural cleaning can handle a lot, but some situations aren’t really “cleaning” problems anymore.
- Cracked or crumbling grout, cleaning won’t stop ongoing breakdown
- Loose or hollow-sounding tiles, moisture or adhesion issues may be involved
- Persistent mildew smell despite drying and ventilation improvements
- Unknown tile type, if there’s any chance it’s natural stone mixed in, ask a tile pro before using acids
If respiratory irritation or allergy concerns are part of the picture, it’s reasonable to choose low-odor options and consult a qualified professional for indoor air or mold questions.
Practical close: a simple plan you can run this weekend
If you want the shortest path to a visible difference, dry clean thoroughly, then mop with warm water plus a small amount of castile soap, and finish with a plain-water rinse if your floors haze. After that, spot-treat grout using a baking soda paste and rinse well.
Try that routine twice, one week apart, before you “upgrade” to stronger methods, because many floors look dramatically better once residue and grit stop piling up.
FAQ
How do I clean ceramic tile floors naturally without leaving streaks?
Streaks usually come from residue, not dirt. Use less soap, change mop water more often, and do a final rinse with clean warm water, then let the floor dry evenly.
Is vinegar safe for ceramic tile and grout?
For ceramic tile, vinegar is commonly used in diluted form for haze and mineral film, but it’s not ideal as an everyday cleaner. On grout, frequent strong acid exposure may be rough on weak or older grout, so keep contact time short and rinse thoroughly.
What’s the best natural way to whiten grout on a tile floor?
Baking soda paste is a reliable first step because it stays on the line and gives you scrubbing power without harsh fumes. If grout stays dark after cleaning, it may be stained or unsealed, which is a different battle.
Can I use a steam mop on ceramic tile floors?
Many people use steam on ceramic tile since it relies on water, not chemicals. Still, if grout is cracked or tiles are loose, repeated heat and moisture could make issues worse, so use it thoughtfully and avoid saturating edges.
Why does my tile floor feel sticky after I mop?
Most of the time it’s too much cleaner, a product that isn’t meant for tile, or dirty water drying back onto the surface. Rinse with plain warm water, then reduce soap in future mops.
How often should I deep clean ceramic tile and grout?
For many households, a weekly gentle mop plus a monthly grout-focused scrub works fine, but kitchens, entryways, and homes with pets may need more frequent spot work. The floor will tell you, when it dulls quickly or feels tacky again.
What should I avoid when cleaning ceramic tile floors naturally?
Avoid abrasive powders that can scratch glazed tile, and avoid using vinegar on any adjacent natural stone. Also skip “more product” thinking, it often creates buildup that looks like dirt.
If you’re trying to keep the routine natural but still want a more hands-off workflow, start by tightening your weekly baseline and then add one targeted upgrade, like a better microfiber system or a steam pass in high-traffic areas, instead of rotating through five different DIY mixes.