
how to maximize storage in a small apartment starts with a simple mindset shift: you’re not “out of space,” you’re often missing the right storage systems for the space you already have.
If you’ve ever bought a cute set of bins, stacked them, and still felt crowded a week later, you’re not alone, small apartments punish random organization because every extra item steals walking space, light, and calm.
This guide focuses on practical moves that work in real U.S. rentals, you’ll see what to measure, where storage usually hides, what to buy (and what to skip), plus a quick table so you can pick the right solution without overthinking it.
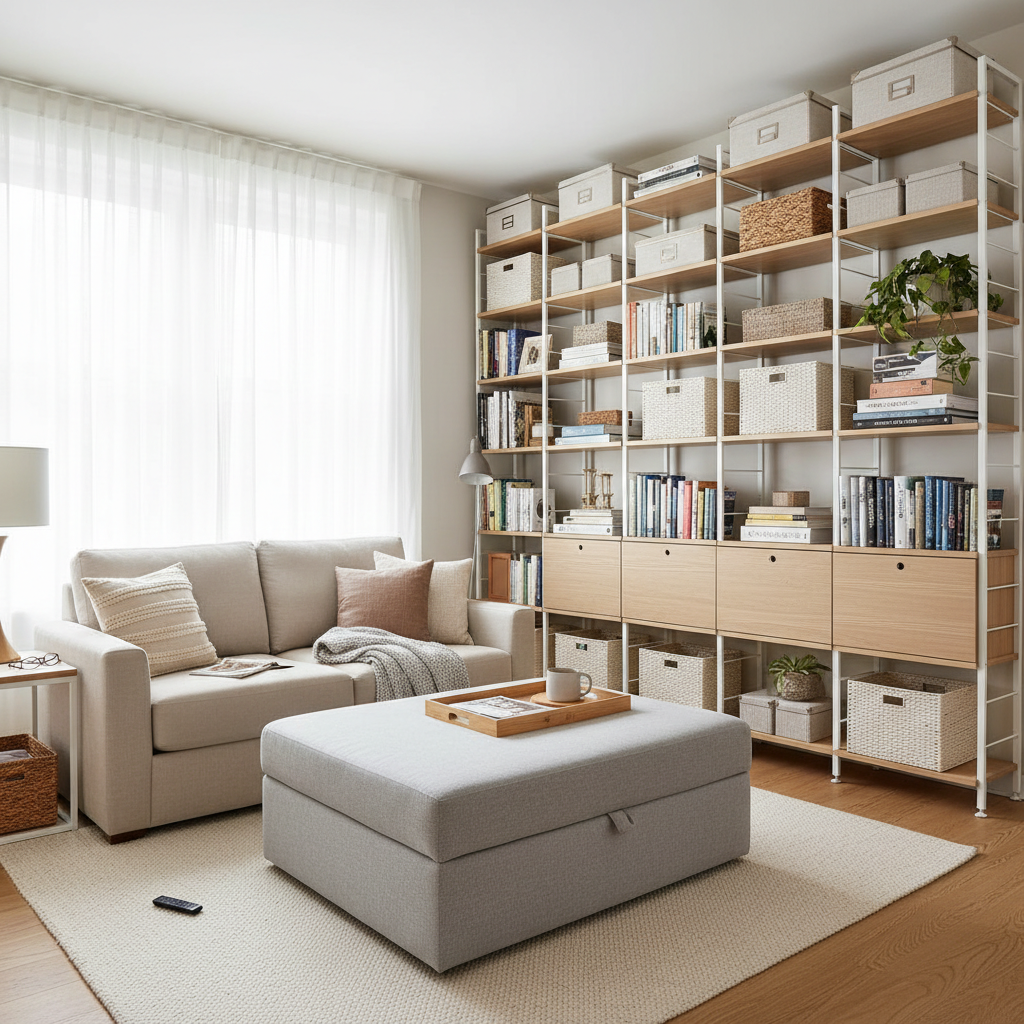
Start with a quick space audit (before buying anything)
Most storage problems come from guessing, not measuring, so do this once and you’ll avoid buying organizers that don’t fit, block doors, or create clutter “piles with lids.”
- Measure three things: width, depth, and the clearance you need to open doors/drawers.
- List your “bulky offenders”: coats, shoes, linens, paper goods, hobby gear, small appliances.
- Mark high-friction zones: entryway drop zone, kitchen counter, bedroom chair, bathroom sink.
- Decide what must stay visible: daily-use items should be easy to grab, not buried.
According to IKEA, organizing works better when items are grouped by activity and stored near where you use them, that principle matters even more when you have one closet and a tiny kitchen.
Use zones: assign storage to how you live (not by room labels)
Studios and small one-bedrooms often blur “rooms,” so zoning keeps you from shoving everything into the nearest closet and hoping for the best.
Common small-apartment zones that actually help
- Landing zone: keys, mail, bag, shoes, outerwear.
- Cooking zone: pantry items, cookware, prep tools, small appliances.
- Work zone: cables, paper, devices, chargers, reference items.
- Sleep zone: clothing, linens, bedside essentials.
- Cleaning zone: sprays, refills, vacuum parts, laundry items.
Here’s the trick, once you define zones, you can store vertically and in “hidden” spots without losing things, because you know where they belong, and you stop creating mystery boxes.
Go vertical without making the apartment feel cramped
Vertical storage is the fastest way to reclaim floor space, but it can look heavy if you treat every wall like a warehouse, the goal is tall storage that feels light.
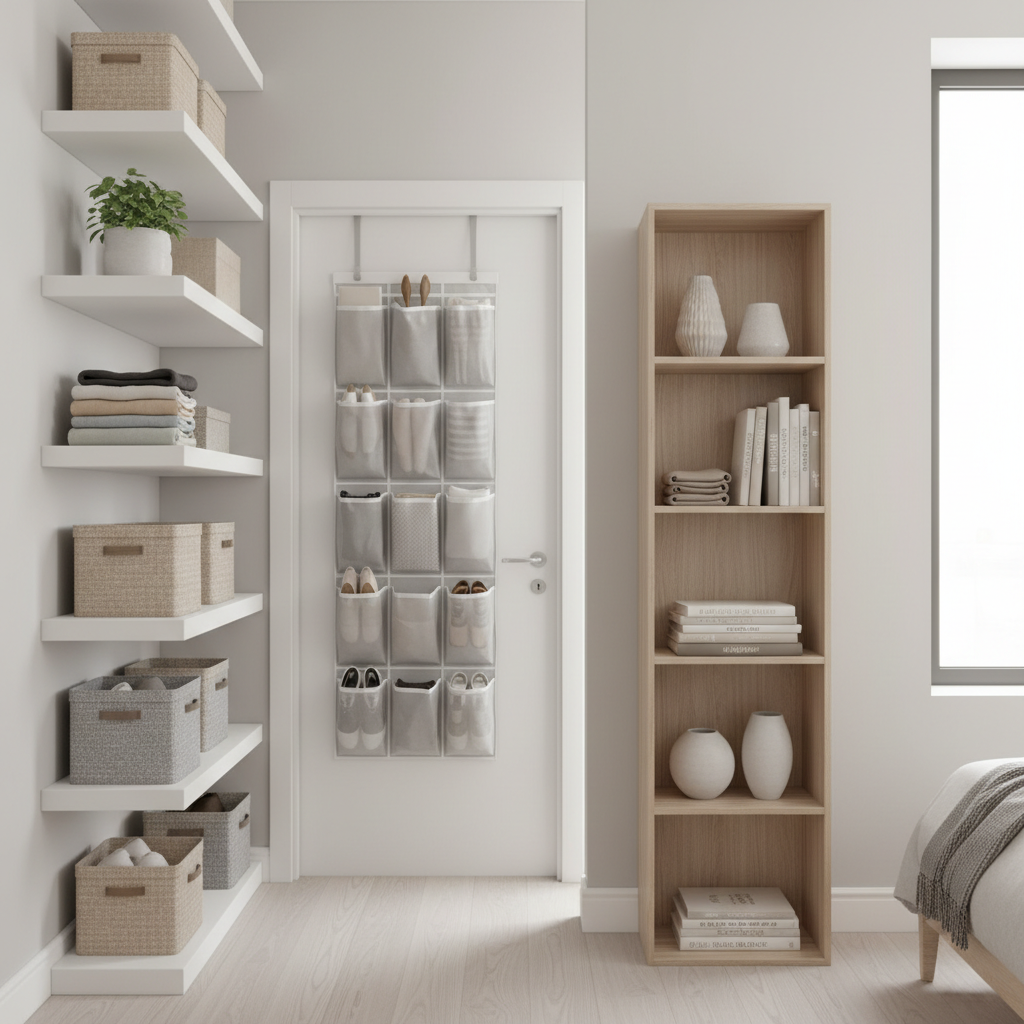
Vertical upgrades that usually work in rentals
- Over-the-door organizers: best for pantry overflow, cleaning supplies, accessories, shoes.
- Tall bookcases (12–14 inches deep): storage without eating the room.
- Wall shelves over “dead space”: above toilet, above desk, above laundry hamper.
- Stackable shelf risers: double cabinet capacity without tools.
Safety matters, especially with tall furniture, if you have kids or pets, anchoring may be strongly recommended, and in some buildings it’s required, check your lease and consider professional help if you’re unsure.
According to the U.S. Consumer Product Safety Commission (CPSC), tip-overs can be a serious hazard, so treat anchoring and stable placement as part of “storage,” not an optional add-on.
Choose double-duty furniture (but be picky)
Multi-functional furniture can be a game changer, or it can become expensive clutter that stores nothing well, what you want is storage that matches what you actually own.
High-impact pieces that earn their footprint
- Storage ottoman: blankets, game controllers, extra cords, small items that otherwise float.
- Bed with under-bed clearance: bins for off-season clothes, extra linens, luggage.
- Lift-top coffee table: work supplies and chargers, especially in a studio.
- Entry bench with shoe storage: reduces the “shoe explosion” near the door.
One honest rule, if a piece only works when you constantly lift, move, or unstack other stuff, you’ll stop using it, and the mess comes back.
Small apartment storage solutions by problem (quick table)
If you’re deciding what to tackle first, pick the issue that creates daily friction, then match it to a solution you can maintain.
| Problem you feel | Likely cause | What to try | What to avoid |
|---|---|---|---|
| Countertops always covered | No “home” for daily items | Tray + vertical shelf, wall hooks, appliance garage bin | More canisters you don’t use |
| Closet feels full but clothes still everywhere | Wasted vertical closet space | Second hanging rod, shelf dividers, slim hangers | Deep bins that hide essentials |
| No place for cleaning supplies | No cleaning zone | Over-door caddy, under-sink riser, narrow rolling cart | Storing chemicals near food |
| Shoes pile up at the door | Entryway lacks containment | Slim shoe cabinet, boot tray, bench with cubbies | Open racks that stick out too far |
| Seasonal stuff has nowhere to go | No long-term storage plan | Under-bed bins, top shelf closet bins, labeled lidded totes | Random cardboard boxes |
Room-by-room tactics that don’t feel like a renovation
You don’t need a full makeover to learn how to maximize storage in a small apartment, you need a few targeted “container decisions” that stop clutter from migrating.
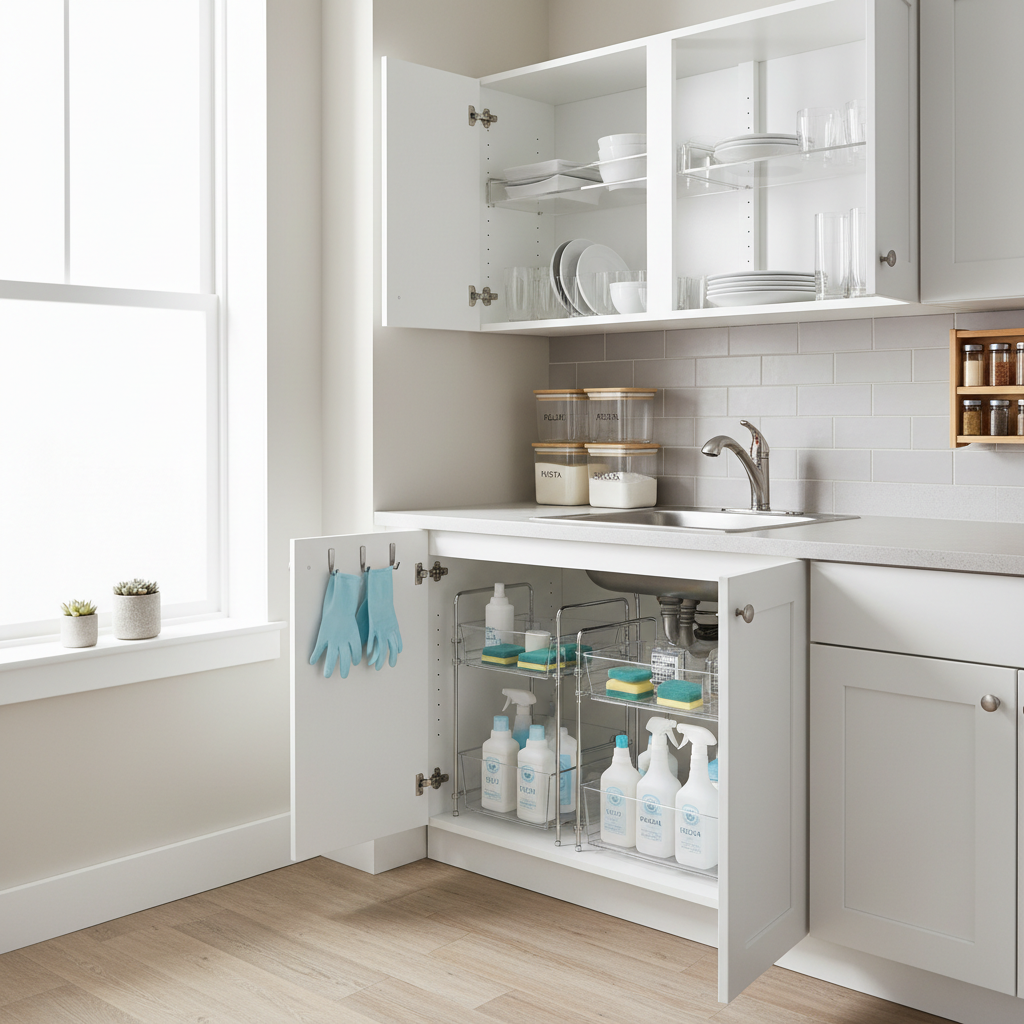
Entryway
- Hooks at shoulder height: bags and jackets stop landing on chairs.
- Mail rule: one small inbox tray, anything else gets recycled fast.
- Shoes: pick either “all hidden” or “all contained,” mixing both tends to fail.
Kitchen
- Contain by category: one bin for baking, one for snacks, one for breakfast.
- Use the cabinet door: stick-on hooks for measuring cups, pot lids if appropriate.
- Make one ‘drop shelf’: a single shelf for bulky appliances, not three.
Bedroom
- Under-bed as a closet extension: off-season clothing and spare bedding.
- Nightstand discipline: one drawer for essentials, chargers managed with clips.
- Closet top shelf: lidded bins with labels facing outward.
Bathroom
- Backstock bin: keep extra toilet paper and refills in one labeled tote.
- Over-toilet shelf: useful for towels and paper goods, not daily cosmetics.
- Under-sink riser: reduces the “leaning tower” of bottles.
A simple 60-minute reset you can repeat monthly
If you want a routine that actually sticks, keep it short, this is the version many people can repeat without turning it into a weekend project.
- 10 minutes: clear surfaces into one laundry basket, no sorting yet.
- 15 minutes: put items back by zone, if you don’t know the zone, that’s the signal.
- 20 minutes: fix one hot spot (entryway, counter, closet floor), not the whole home.
- 15 minutes: label one bin and adjust one shelf height, small tweaks beat big plans.
Key point: a storage system is only “good” if you can maintain it on a tired Tuesday night, not just after a big clean.
Common mistakes that waste space (and money)
When people search how to maximize storage in a small apartment, they often expect a magic organizer, but the real wins come from avoiding these traps.
- Buying containers before editing: you’ll just store clutter more neatly.
- Too many tiny categories: micro-sorting collapses fast, keep it broad.
- Deep bins with no labels: items disappear, then you rebuy them.
- Storing by “where it fits”: convenience beats logic in small spaces.
- Ignoring lighting and walk paths: storage that blocks movement feels like clutter.
If you’re using adhesives or wall mounts, check weight ratings and wall type, and if you’re not confident about anchors or drilling, it may be safer to ask your building maintenance team or a handyman.
Conclusion: make storage serve your daily habits
Learning how to maximize storage in a small apartment usually comes down to three moves: define zones, use vertical space responsibly, and choose a few double-duty pieces that match your real inventory.
Pick one high-friction area today, the entryway or the kitchen counter are common winners, measure it, assign a zone, and add one container that makes the “put away” step easy enough to repeat.