
Best glass food storage containers usually come down to three things people feel immediately: lids that don’t leak, glass that handles reheating without drama, and a shape that stacks without turning your cabinet into chaos. If you’re buying because plastic smells, stains, or makes you nervous in the microwave, glass is a practical upgrade, but only if you choose the right type and use it correctly.
Here’s the catch: “microwave safe” is not one single standard across every brand, and most breakage stories happen because of how the container gets used, not because glass is “bad.” Thermal shock, lid materials, and tiny chips on rims matter more than most product listings admit.
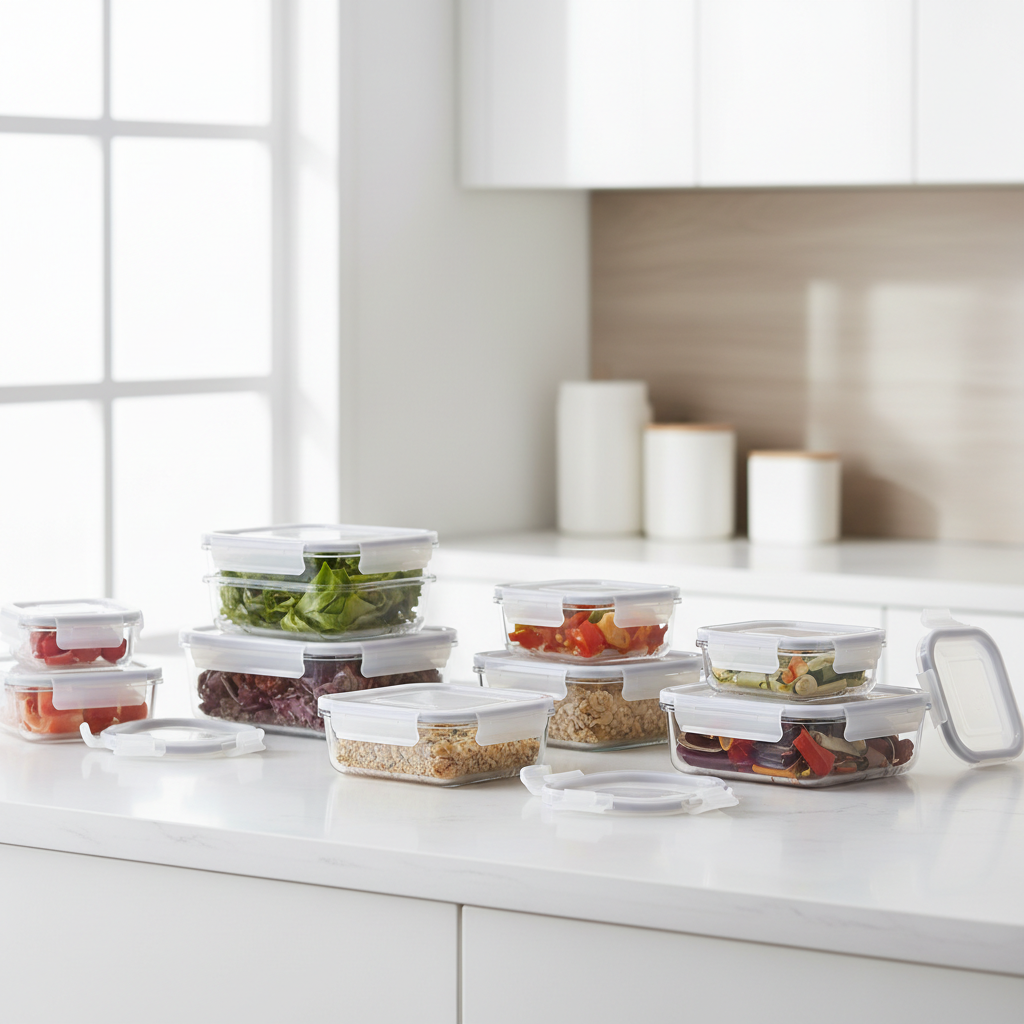
This guide breaks down what to look for, how to match a set to your real routine, and the small usage habits that keep glass from cracking and lids from warping. You’ll also get a quick comparison table and a simple checklist so you can decide fast.
What “microwave safe” really means for glass containers
In most cases, the glass itself can handle microwaves, but the overall container system includes the lid, venting design, and how evenly the food heats. A listing that says “microwave safe” often assumes you use it in a pretty specific way.
- Glass vs. lid: The bowl may be microwave safe while the lid is “reheat safe” only when vented, loosely placed, or not used at all.
- Thermal shock risk: Glass can crack if you go from fridge to high heat fast, or from microwave to cold water fast.
- Hot spots: Thick foods heat unevenly, creating stress points on the base.
According to the U.S. Food & Drug Administration (FDA), microwave-safe labeling relates to how a material performs under microwave heating conditions, and consumers should follow manufacturer directions for safe use. That’s a polite way of saying: read the lid instructions, because lids are where problems start.
Material and build: what separates a good set from a frustrating one
When people search for the best glass food storage containers, they’re usually trying to avoid two outcomes: shattered glass and leaky lunches. Paying attention to build details lowers both risks.
Glass type: tempered vs. borosilicate (and why you should care)
- Tempered soda-lime glass is common in U.S. retail. It’s strong for drops, but can still dislike sudden temperature swings.
- Borosilicate glass typically handles temperature changes better, and many brands market it for oven-to-table use, but real-world performance still depends on thickness and quality control.
If a brand is vague about glass type, assume standard tempered glass and treat it gently around temperature jumps.
Lid design: the “leakproof” claim that often disappoints
- Gasketed snap lids seal well, but gaskets can hold odors if not removed and cleaned.
- Silicone lids can be convenient, but may flex in bags unless the fit is tight.
- Vents help prevent pressure buildup while microwaving, but they can be another part that breaks or gets gross if never cleaned.
Quick comparison table: choose based on your routine
This table isn’t about brand names so much as “container styles that fit how you actually eat.” If you’ve ever bought a beautiful set and then used only two pieces, this is why.
| Use case | Best container shape | Lid style to prioritize | Microwave habit that matters |
|---|---|---|---|
| Meal prep (3–5 days) | Rectangles, 2–4 cup | Snap lid with removable gasket | Vent lid, reheat in shorter cycles |
| Leftovers + family dinners | Large rounds, 4–8 cup | Wide lip, easy-grip tabs | Stir halfway for even heating |
| Soups, sauces, chili | Tall rounds, 2–4 cup | Leak-resistant snap lid | Leave headspace, vent to reduce splatter |
| Office lunches in a bag | Flat rectangles | Strong locking tabs | Let container sit 5 min after fridge |
| Kids snacks | Small squares, 0.5–1.5 cup | Easy-open tabs (not too stiff) | Usually reheat lid-off |
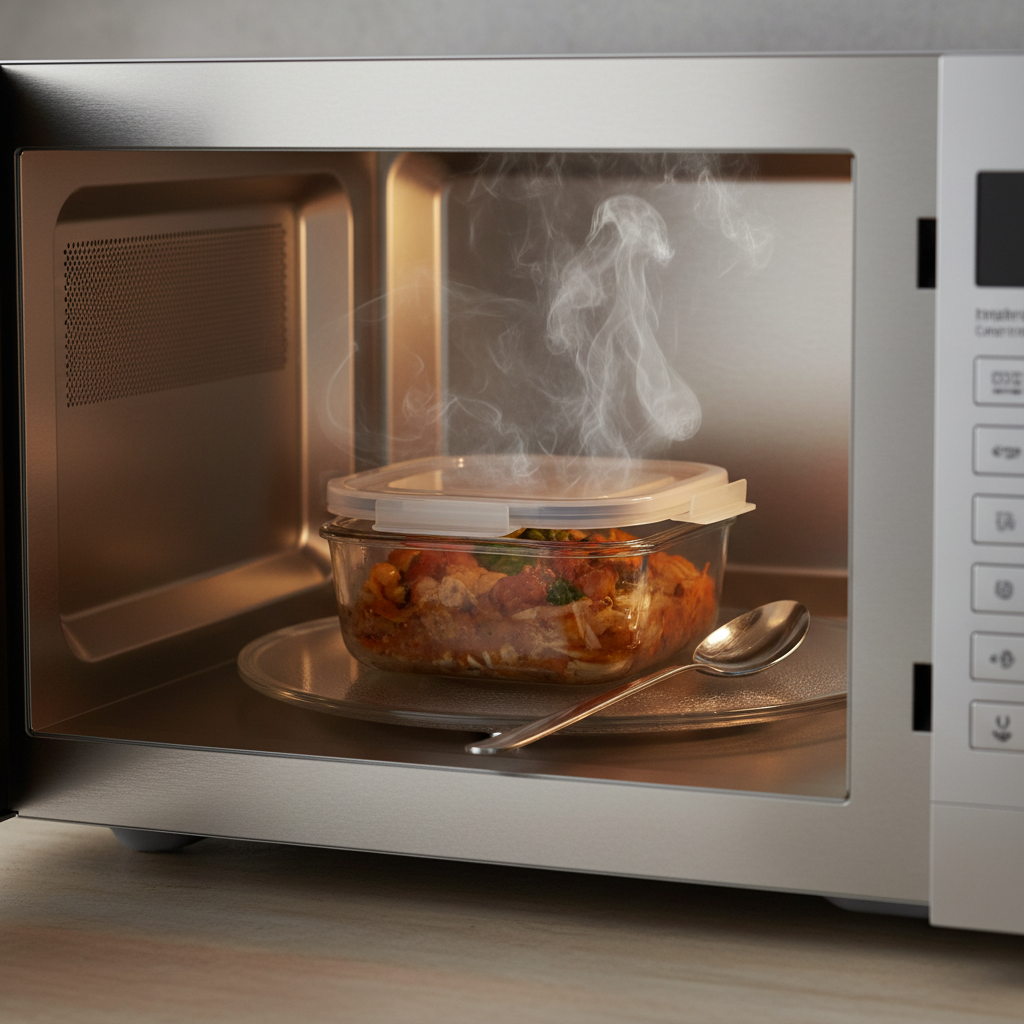
A fast self-check: which set is likely to annoy you?
Before you buy, be honest about how you’ll use them. This quick check catches most “I regret this set” moments.
- You carry food in a bag most days: prioritize locking lids and flatter shapes that don’t tip.
- You reheat directly from the fridge: look for glass marketed for temperature change tolerance, and plan to vent lids.
- You hate hand-washing: pick simple lids with fewer crevices, and make sure gaskets can be removed.
- You store oily tomato-based foods: glass is great, but lid gaskets may hold smell, you’ll want removable silicone parts.
- Your cabinets are tight: stacking and nesting shapes matter more than an extra container or two.
How to use glass containers in the microwave without cracking them
Most “my container shattered” stories trace back to temperature shock or pressure. These habits look small, but they do the heavy lifting.
Practical reheating steps
- Give it a buffer: if the container is fridge-cold, let it sit on the counter a few minutes when possible.
- Vent every time: open the vent, crack the lid, or microwave lid-off with a paper towel cover to control splatter.
- Use shorter bursts: reheat 60–90 seconds, stir, then continue. It reduces hot spots that stress the base.
- Avoid microwave-to-sink jumps: don’t rinse a hot container under cold water, let it cool first.
- Watch for chips: small rim chips can become crack starters under heat, retire that piece for dry storage.
If you’re reheating very thick foods or frozen blocks, consider defrosting first. It’s not only about texture, it’s also gentler on the container.
Buying tips that matter more than “number of pieces”
Big sets look like value, but for best glass food storage containers shopping, the boring details usually decide whether you keep using them a year later.
- Check replacement lids availability: lids wear faster than glass. If replacements exist, your set lasts longer.
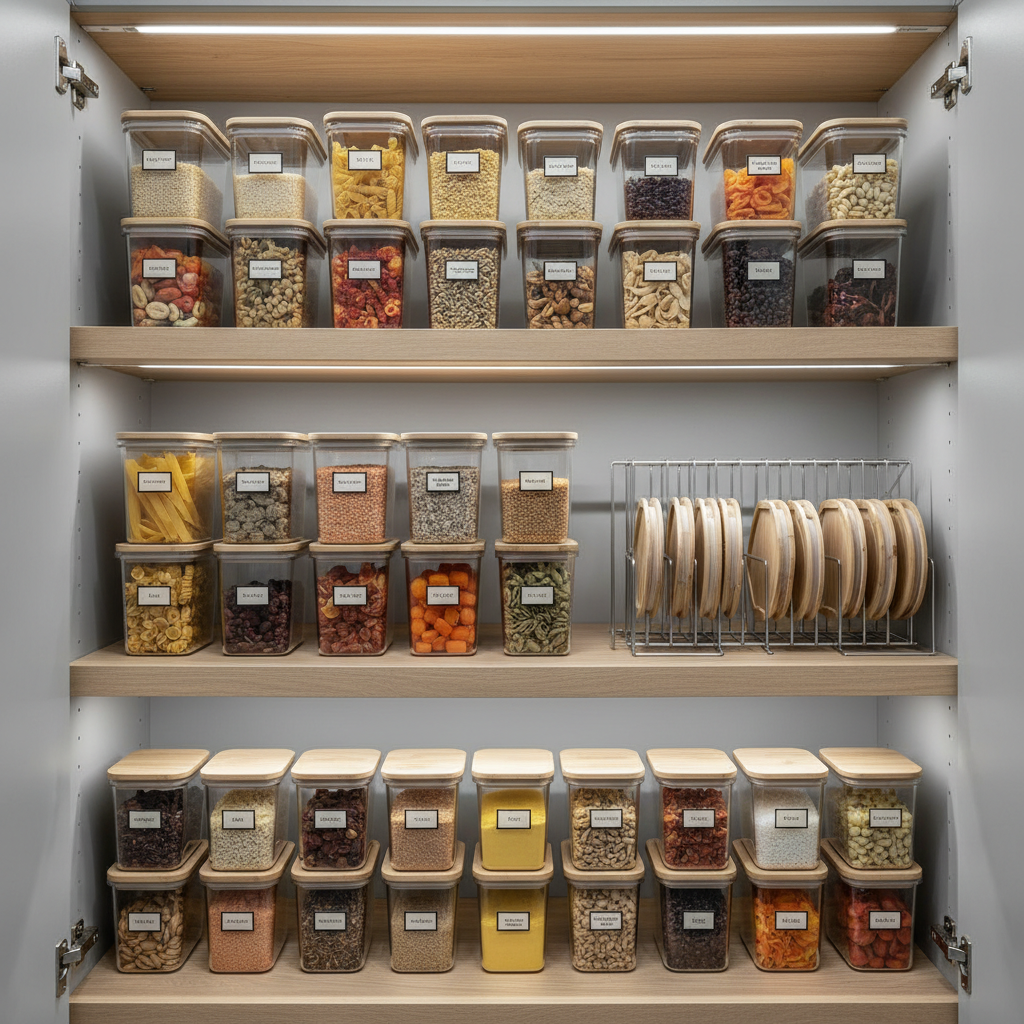
- Look for consistent footprint: sets where multiple sizes share the same lid size reduce clutter and missing-lid chaos.
- Prefer wide lips and thicker rims: easier to clean, less likely to chip during stacking.
- Make sure “dishwasher safe” includes the lid: some lids tolerate top rack only, and high-heat drying can warp them over time.
- Consider weight: glass is heavier. If you commute, a slightly smaller size may be the difference between “daily use” and “stays at home.”
Common mistakes (and why they backfire)
These are the patterns that make people conclude glass “doesn’t work,” when the issue is usually a mismatch between expectations and the container’s design.
- Microwaving with airtight lids fully locked: pressure builds, lids warp, and sealing surfaces degrade faster.
- Using metal utensils inside the container: you can scratch the surface and create stress points on some glass finishes.
- Assuming oven-safe equals microwave-proof: heat types differ, and lid rules differ even more.
- Ignoring gasket cleaning: the container stays odor-free, but the lid starts smelling, then everything “tastes like last week.”
- Stacking with grit between pieces: tiny crumbs can chip rims, then you get cracks later under heat.
When you should consider professional or manufacturer guidance
If you see spiderweb cracks, a deep chip on the rim, or a lid that no longer seals, it’s smart to stop using that piece for reheating and check the brand’s care instructions. If you’re dealing with a burn risk at home, or you have accessibility needs that make handling hot glass harder, a kitchen safety professional or occupational therapist may be able to suggest safer workflows. Also, if you’re using containers for a small food business, local health department guidance may apply, so double-check before standardizing on a container system.
Key takeaways and a simple next step
The “right” set usually isn’t the biggest or the prettiest, it’s the one whose lids match your habits and whose glass can tolerate how you reheat. If you want fewer leaks and less stink, glass is often a good move, but treat temperature changes with respect and don’t force airtight lids in the microwave.
If you’re choosing today, pick 2–3 sizes you’ll actually use, confirm lid replacement options, and commit to venting while reheating. That’s the difference between containers you love and containers you donate.
FAQ
- Are glass food storage containers always microwave safe?
Not always as a full system. The glass often is, but lids may require venting or may not be recommended for microwaving at all, so the manufacturer instructions matter. - What’s the safest way to microwave leftovers in glass?
Vent the lid or microwave lid-off, heat in shorter bursts, and stir between cycles. Let fridge-cold containers warm slightly on the counter when you can. - Why do my glass containers crack even if they say microwave safe?
Thermal shock is the usual culprit: very cold glass meeting fast heat, or hot glass meeting cold water. Chips on rims and uneven heating can also contribute. - Do snap-lock lids make containers truly leakproof?
They’re often leak-resistant for normal movement, but “leakproof” depends on gasket condition, how full the container is, and whether it gets tipped in a bag. - Is borosilicate glass better than tempered glass for microwaves?
Borosilicate typically handles temperature changes better, but real durability still depends on thickness and manufacturing quality, so treat any glass carefully. - How do I remove food smells from lids and gaskets?
Wash gaskets separately if removable, then let them air-dry fully. For stubborn odors, soaking in a mild baking soda solution can help, but check brand guidance first. - Can I microwave with the lid on if it has a vent?
Often yes, but keep the vent open and avoid locking the lid airtight. Some brands still recommend lid-off for higher heat, so follow their notes.
If you’re trying to simplify meal prep, reduce plastic use, or stop gambling with leaky lunch bags, focus less on “piece count” and more on a set that matches your reheating and carrying habits, it’s the most reliable way to end up with glass you actually keep using.