
how to remove sticker residue furniture usually comes down to two choices: soften the adhesive so it releases, or lift it mechanically without scratching the finish. The tricky part is you can’t treat every surface the same, because wood stain, paint, laminate, leather, and glass all react differently to heat and solvents.
If you’ve ever “just scrubbed it off” and ended up with a cloudy spot, dull patch, or a lifted veneer edge, you already know why this topic matters. Sticker glue isn’t only sticky, it can bond into tiny pores and texture, especially on older finishes.
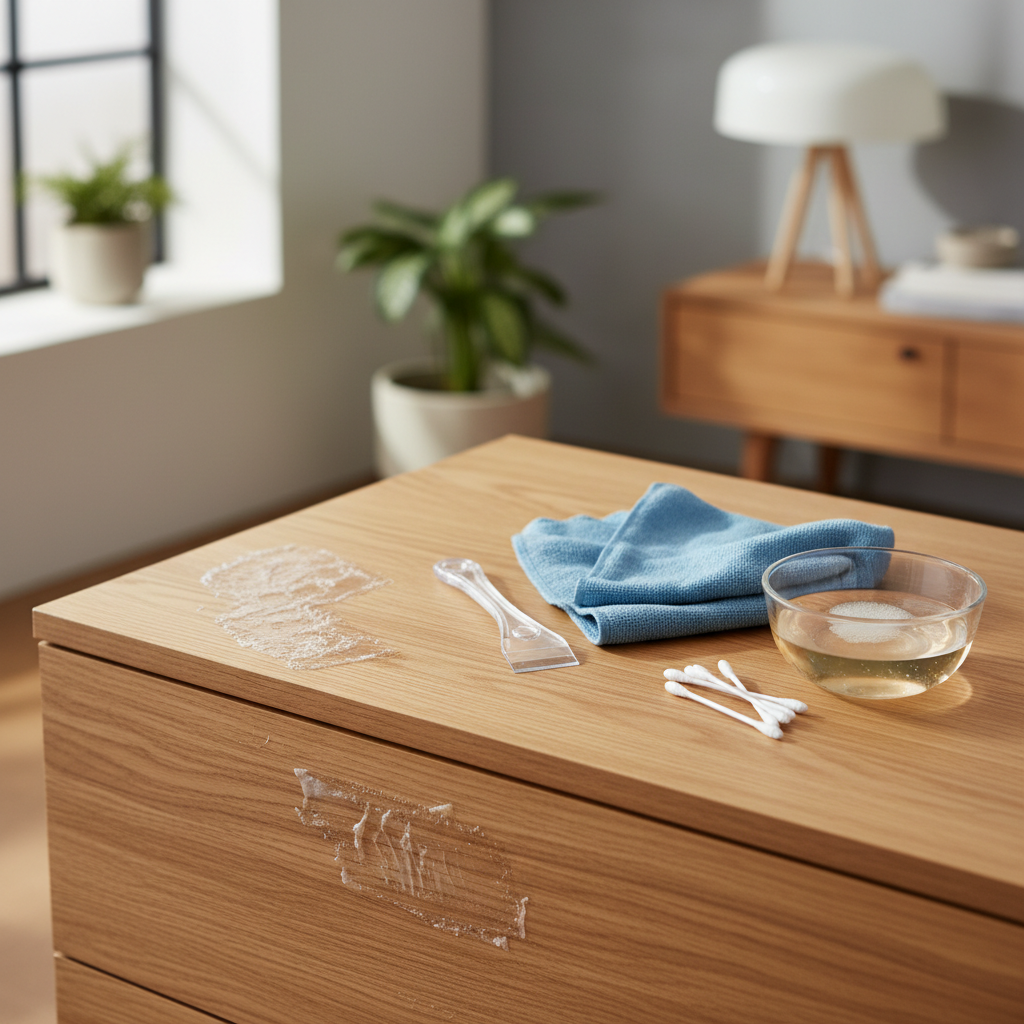
Below is a practical approach that helps you pick the least risky method first, then step up only when needed. You’ll also get a quick surface checklist, a small comparison table, and a few “don’t do this” mistakes that cause most of the damage.
Why sticker residue sticks so hard (and why it’s not your fault)
Most furniture sticker residue comes from pressure-sensitive adhesives. They’re designed to grab quickly and hold over time, and heat plus sunlight can make them cure harder. That’s why an old price tag on a nightstand often turns into a stubborn amber smear.
- Time: the longer it sits, the more the adhesive dries and bonds.
- Heat: warm rooms or direct sun can “set” the glue into the finish.
- Porous surfaces: unfinished or lightly sealed wood can absorb oils from adhesive.
- Textured finishes: grooves and grain trap residue so wiping alone won’t cut it.
One more thing people miss: many stickers have a paper layer plus a clear film layer. If you peel only the paper, the film stays behind, and the glue feels extra gummy.
Quick self-check: what surface are you working with?
Before you reach for any solvent, spend 20 seconds identifying the surface. It changes what’s “safe.” If you’re unsure, treat it as delicate and test in a hidden spot.
- Finished wood (sealed, glossy, satin): usually tolerant of mild soap and some oil-based options, but solvents can haze.
- Painted furniture: more likely to soften or lift with alcohol/acetone.
- Laminate (common on shelves/desks): generally tough, but seams can swell if soaked.
- Veneer: thin wood layer; aggressive scraping or too much liquid can cause lifting.
- Glass/metal: easiest, you can use sharper tools carefully.
- Leather/upholstery: special case, solvents can stain or strip coatings.
Small test matters: dab your chosen remover on an inconspicuous area, wait a minute, wipe, then look for color transfer, dulling, or tacky finish.
Best methods at a glance (choose the least aggressive first)
In real homes, “best” often means “works without creating a new problem.” Use this table to pick your first attempt, then escalate only if the residue laughs at you.
| Method | Works well for | Main risk | Good surfaces |
|---|---|---|---|
| Warm soapy water + microfiber | Fresh residue, light tackiness | Water creeping into seams | Sealed wood, laminate, metal |
| Heat (hair dryer) + plastic scraper | Old stickers, thicker glue | Overheating finish, warping veneer | Sealed wood, laminate, glass |
| Oil-based (mineral oil, cooking oil) | Rubbery residue, label film glue | Oily stain on porous/unfinished wood | Sealed wood, some plastics |
| Isopropyl alcohol (spot use) | Smears, remaining tack | Hazing or softening paint/finish | Glass, some laminates (test first) |
| Commercial adhesive remover | Stubborn residue | Finish interaction, lingering odor | Depends on product; always test |
According to U.S. Consumer Product Safety Commission (CPSC), you should read and follow label directions on household chemical products and use them with appropriate ventilation. That’s especially relevant when you move beyond soap-and-water and start using solvents or commercial removers.
Step-by-step: a safe removal workflow that works in most homes
If you want one repeatable process, this is it. It’s designed to minimize finish damage while still getting the job done.
1) Start dry: lift what you can without chemicals
- Peel slowly at a low angle, not straight up.
- If paper tears, try rolling the residue with a clean finger to “ball it up.”
- Use a plastic card or plastic scraper, keep it nearly flat to avoid gouges.
2) Add gentle moisture (not soaking)
- Mix warm water with a small drop of dish soap.
- Dampen a microfiber cloth, wring it out hard, then press on residue for 20–40 seconds.
- Wipe, then dry immediately with a fresh cloth.
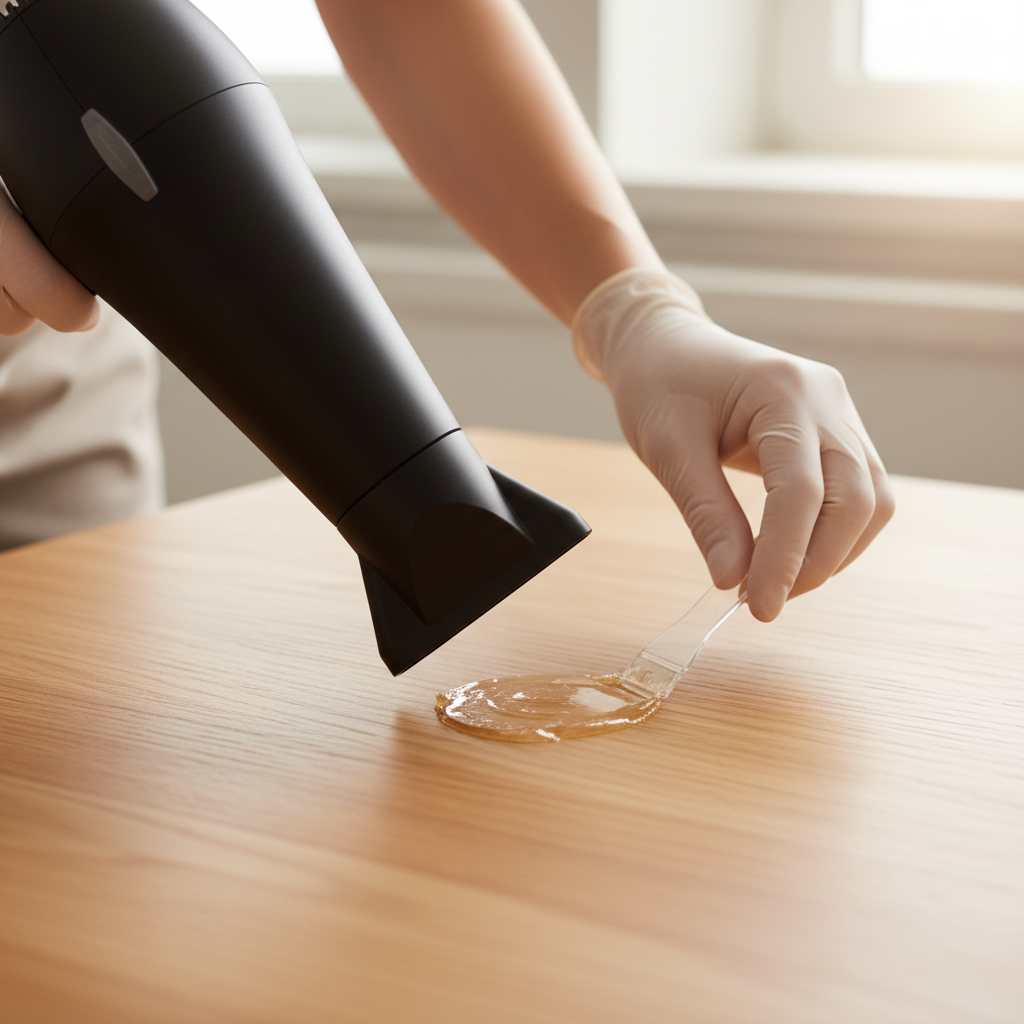
3) Use controlled heat to soften adhesive
- Hair dryer on low/medium, keep moving, stay a few inches away.
- Warm for 10–20 seconds, then scrape gently with plastic.
- Repeat in short cycles, stop if the surface feels too hot to touch.
4) Escalate to oil or alcohol only as needed
- Oil method: put a drop on a cloth (not directly on furniture), rub lightly, wait 1–2 minutes, then wipe clean.
- Alcohol method: spot-apply with a cotton swab, wipe quickly, don’t let it sit.
- After either method, wash the spot with mild soapy water and dry, so you don’t leave a slippery film.
Surface-specific advice (where most people slip up)
Same glue, different furniture, very different outcomes. Here’s how I’d adjust the approach depending on what you’re cleaning.
Finished wood (tables, dressers, bed frames)
- Favor heat + plastic scraping, then a tiny amount of oil if needed.
- Avoid flooding the area with water, especially near joints.
- If you see whitening or clouding, stop and switch to gentler steps, the finish may be reacting.
Painted furniture
- Go slow with heat, paint can soften faster than clear coats.
- Skip acetone and be cautious with alcohol, it can pull pigment or dull sheen.
- Try warm soapy water, then very light oil on a cloth, then clean again.
Laminate and melamine shelves
- Usually tolerant of heat and mild cleaners.
- Keep liquids away from edges and seams to reduce swelling risk.
- A plastic scraper works well here, because the surface is hard but can still scratch.
Glass and metal
- Heat plus scraping is effective; you can use a razor scraper on glass if you know how, but keep it flat and move carefully.
- Alcohol typically works fast on remaining tack.
Veneer and antique finishes
- Assume sensitive, use minimal moisture and low heat.
- Scraping pressure should be almost nothing, let softening do the work.
- If the veneer edge looks lifted, don’t keep picking at it.
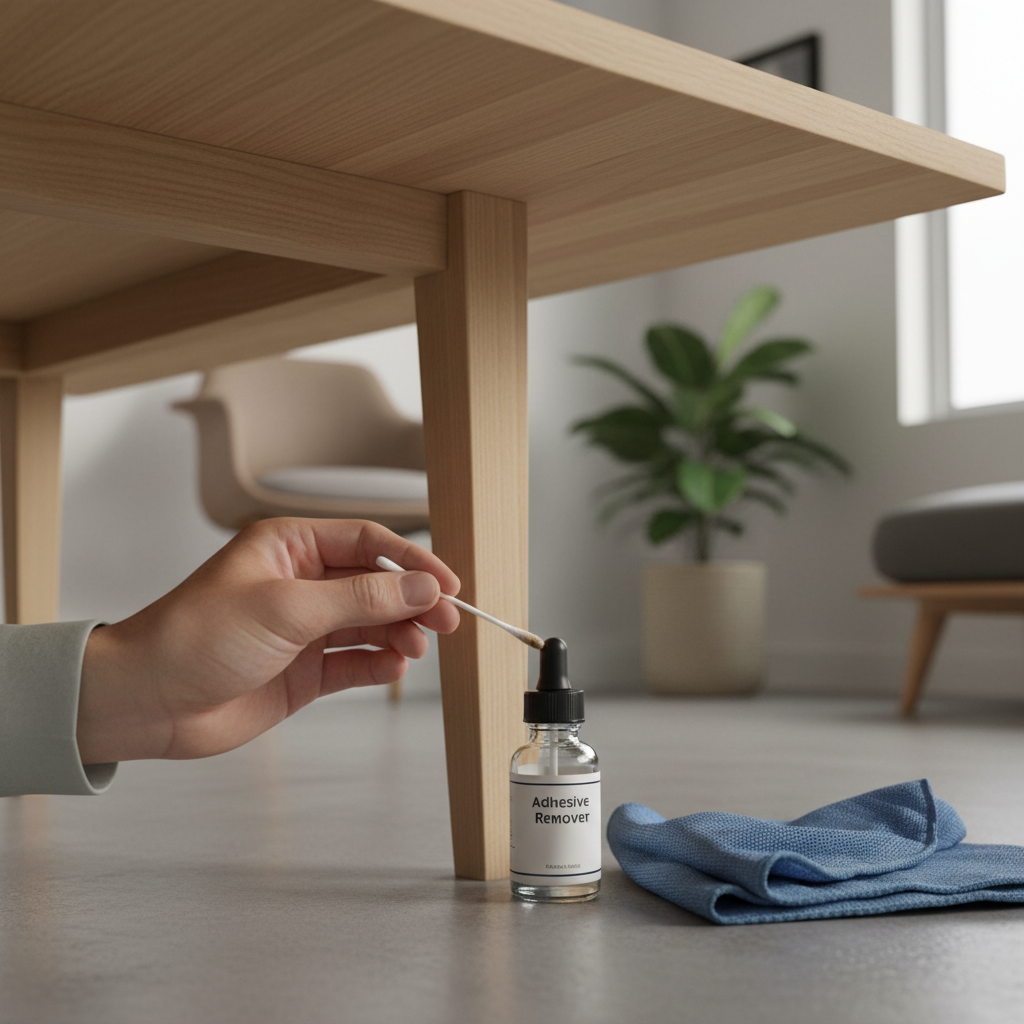
According to EPA, using household cleaning products safely often includes following label instructions and ensuring good ventilation. If you notice strong fumes from an adhesive remover, open windows or move the piece to a ventilated area when possible.
Common mistakes that create permanent-looking marks
- Metal scrapers on wood: one slip and you’ve traded residue for a scratch you can’t unsee.
- Letting solvent sit: even if it dissolves adhesive, it may also soften finish if it lingers.
- Soaking seams: water or remover wicking into edges can swell particleboard or lift veneer.
- Magic eraser everywhere: it’s mildly abrasive, which can dull sheen on glossy furniture.
- Mixing chemicals: unpredictable reactions, plus avoidable safety risk.
If your residue turns into a smeary patch, that’s usually a sign the glue softened but didn’t lift yet. Pause, blot with a clean cloth, then return to gentle scraping and short, controlled applications.
When it’s time to call for help (or at least stop experimenting)
Most sticker residue is DIY-friendly, but a few situations deserve extra caution. If the furniture is valuable, irreplaceable, or the finish is already fragile, a conservator or furniture refinisher may be the safer path.
- You see color lifting onto your cloth during a spot test.
- The surface turns cloudy, tacky, or soft after a mild solvent attempt.
- Veneer edges start to lift, or the substrate swells.
- The residue sits on leather or specialty coatings, and you’re not sure what the material is.
If you suspect exposure to strong fumes or you feel unwell during cleaning, it’s reasonable to stop, ventilate, and consider asking a professional for guidance.
Key takeaways (so you don’t overthink the next sticker)
- Start with least aggressive methods: dry lift, then warm soapy water.
- Heat plus a plastic scraper solves a lot of “old sticker” cases with low risk.
- Use oil or alcohol in small, controlled amounts, and always test first.
- If the finish reacts, stop early, because pushing harder rarely ends well.
Next time you’re stuck wondering how to remove sticker residue furniture without damaging the surface, pick one method, test in a hidden area, and give it a few short cycles instead of one long aggressive scrub. If you want a simple plan, start with heat and plastic scraping, then finish with a gentle wipe-down to remove any remaining film.
FAQ
How do I remove sticker residue from furniture without damaging wood finish?
Use low heat to soften the adhesive and lift it with a plastic scraper, then wipe with warm soapy water and dry. If residue remains, try a tiny amount of oil on a cloth, then clean again so no oily film stays behind.
Can I use rubbing alcohol on painted furniture for sticker glue?
Sometimes, but it’s a common place where things go wrong. Alcohol can dull paint or pull pigment in some cases, so do a small spot test first and keep contact time short, apply with a swab rather than soaking.
What removes old sticker residue furniture labels that turned yellow?
Yellowed residue is often aged adhesive. Heat tends to help most, then follow with a small amount of oil or a purpose-made adhesive remover that’s compatible with your surface, after testing in a hidden area.
Is WD-40 safe for removing sticker residue from furniture?
It can loosen adhesive, but it can also leave an oily residue and may interact with certain finishes. If you try it, use a very small amount on a cloth, wipe promptly, then wash with mild soap and water and dry thoroughly.
How long should I heat a sticker with a hair dryer?
Usually 10–20 seconds at a time on low or medium, moving the dryer so one spot doesn’t overheat. Repeat in short cycles, and stop if the surface feels too hot to touch.
What if sticker residue won’t come off and just smears?
Smearing often means the glue softened but hasn’t lifted. Blot with a clean cloth, switch to gentle scraping, and use shorter applications of remover so you lift adhesive rather than spread it.
How do I remove sticker residue from laminate furniture without scratching?
Start with warm soapy water and a microfiber cloth, then use a plastic scraper at a shallow angle. Keep liquids away from seams, because swelling at edges tends to cause more visible damage than the residue itself.
If you’re dealing with multiple pieces, delicate veneer, or you simply want a more predictable result, a dedicated adhesive remover and the right plastic scraping tools can save time, just remember to spot-test and ventilate so the “fix” doesn’t become a finish repair project.