
How to clean wooden furniture properly comes down to two things: knowing what finish you’re dealing with, and using as little moisture and abrasion as possible.
If you’ve ever wiped a table “just to freshen it up” and ended up with cloudy patches, sticky residue, or dull spots, you’re not alone. Wood is forgiving in daily life, but the finish on top of it often is not.
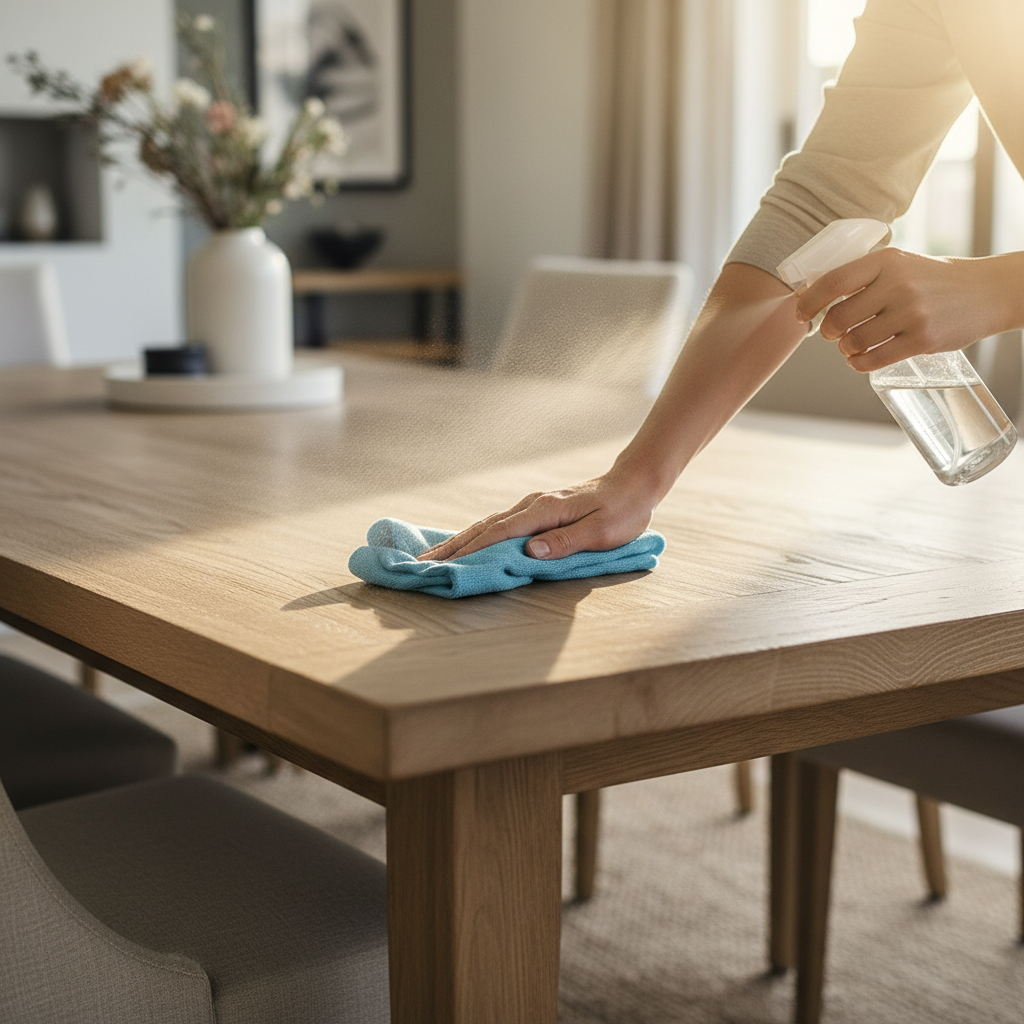
This guide keeps it practical: how to identify common finishes, what to use for routine cleaning, how to handle sticky grime and water rings, and when a “cleaning” problem is actually a finish problem. You’ll also get a quick reference table and a short checklist you can run in two minutes.
Start here: what kind of wood finish do you have?
You don’t need to be a furniture restorer, but you do need a rough idea of the finish. The cleaning approach for a modern polyurethane topcoat differs from an older wax or shellac surface.
Quick finish clues (no lab tools required)
- Most newer furniture (last couple decades) often has a polyurethane or lacquer finish: it feels smooth, slightly “sealed,” and resists small spills for a short time.
- Waxed/oiled wood can feel warmer and less slick; water may darken it quickly and then fade as it dries.
- Antique/older pieces may have shellac: alcohol-based products can make it tacky or hazy.
If you’re unsure, treat it as delicate: mild cleaner, minimal water, and a soft microfiber cloth. Also, test any product on a hidden spot (inside a leg, back edge) before committing.
A safe everyday routine (the method most people actually need)
For routine dust, fingerprints, and light smudges, simpler tends to be better. Many issues come from “stronger” cleaners leaving behind film or softening the finish.
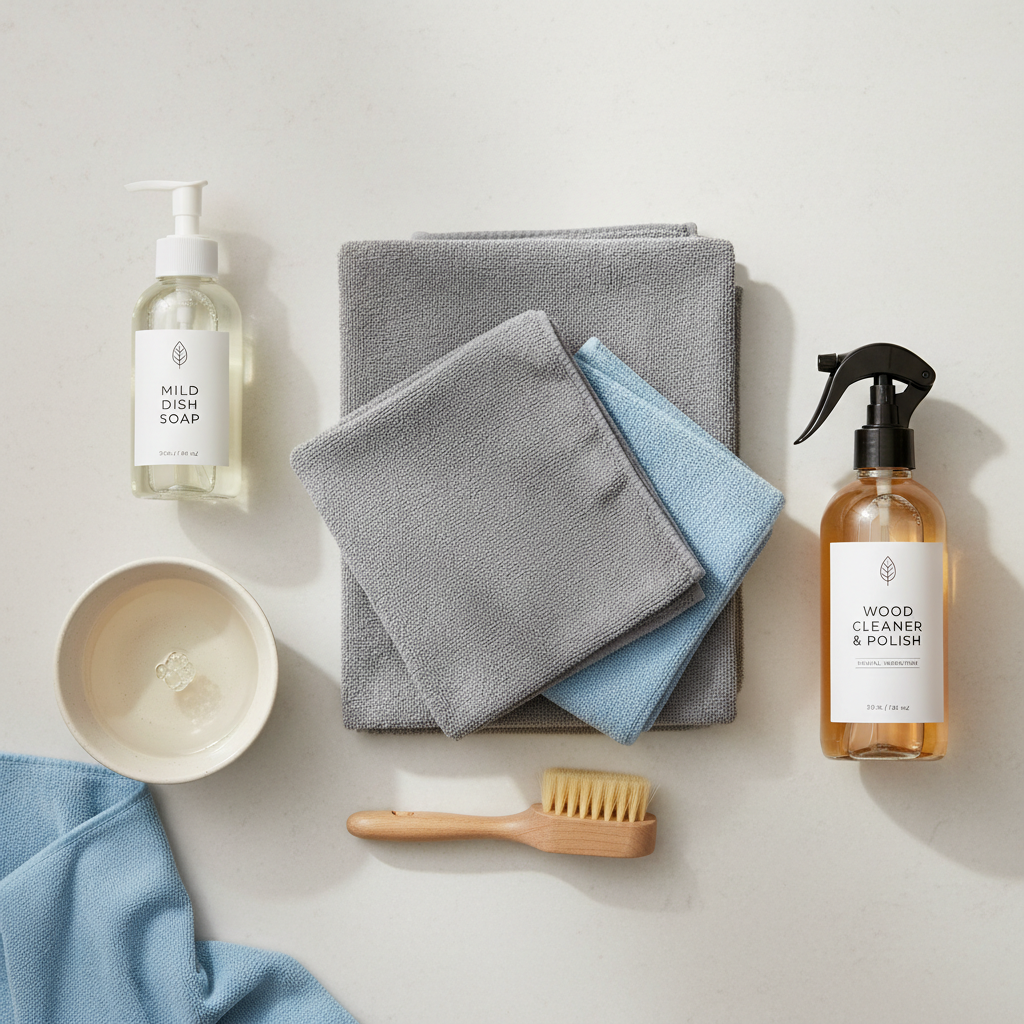
What to grab
- Two microfiber cloths: one slightly damp, one dry for buffing.
- Warm water (not hot) in a small bowl or spray bottle.
- Optional: a drop of mild dish soap in a cup of water for greasy fingerprints.
Step-by-step
- Dust first with a dry cloth, so you’re not dragging grit across the surface.
- Lightly dampen the cloth (it should not drip), wipe with the grain.
- If needed, use the diluted soap water for a second pass on grime spots, then wipe once more with plain water.
- Buff dry immediately with the second cloth.
Key point: letting water sit is where trouble starts, especially around seams, veneer edges, and carved details.
Cleaner choice guide (and what to avoid)
There’s no universal “best” product, but there are consistent patterns: residue builds up, solvents can haze finishes, and silicone can create long-term refinishing headaches.
According to the American Cleaning Institute, you should always read and follow the manufacturer’s directions on cleaning products and test in an inconspicuous area first.
Quick reference table
| Situation | What usually works | What often causes problems |
|---|---|---|
| Weekly dust and fingerprints | Dry microfiber; lightly damp cloth; buff dry | Feather dusters that spread grit; soaking wet wipes |
| Sticky film from polish buildup | Mild soap dilution; multiple light passes; thorough dry buff | Adding more polish; heavy oiling that traps dust |
| Grease near handles (dressers, cabinets) | Diluted dish soap; soft brush for crevices; quick dry | All-purpose degreasers on unknown finishes |
| Water spots or cloudy haze | Gentle drying + buffing; address moisture source; cautious spot treatment | Heat tricks done aggressively; abrasive scrubbing pads |
Ingredients and tools to be cautious with
- Vinegar solutions: can be fine in some cases when highly diluted, but on certain finishes it may dull or haze over time.
- Ammonia, bleach, and strong all-purpose sprays: more likely to damage finishes, especially on older pieces.
- Abrasives (magic erasers, scouring pads): can create micro-scratches that look like “dullness.”
- Silicone-heavy polishes: may look great short-term, but can interfere with future touch-ups or refinishing.
How to handle common “uh-oh” problems (without making them worse)
This is where people overcorrect. A gentle approach, repeated twice, beats one aggressive pass that permanently changes the sheen.
1) Sticky residue (often polish buildup)
- Mix a small amount of mild dish soap into warm water.
- Dampen cloth, wipe with the grain, then follow with a plain-water wipe.
- Buff completely dry. If it still feels tacky, repeat once more rather than switching to harsher chemicals.
2) White haze or cloudiness
Cloudiness is frequently trapped moisture in or on the finish. Before you try specialty fixes, do the basics: gently clean, then dry and buff until the surface feels even. If the haze persists, it may be finish damage rather than dirt, and a pro may be the safer next step.
3) Dark water marks
Dark rings can mean water reached below the finish into the wood fibers. Cleaning won’t always remove that. At that point, options lean toward restoration methods (which vary a lot by finish), so proceed carefully and consider a furniture repair shop if the piece matters.
4) Grime in carvings, corners, and seams
- Use a soft toothbrush or detailing brush with lightly soapy water.
- Work small sections, then wipe residue with a damp cloth.
- Dry crevices with a clean cloth wrapped around a fingertip or a cotton swab.
A 2-minute self-check before you clean (saves a lot of regret)
- Is this solid wood or veneer? Veneer edges and seams dislike moisture, so go extra light with water.
- Do you see flaking, cracking, or “alligatored” finish? That’s not a cleaning job; liquids can creep under loose finish.
- Is the surface already tacky? Skip oils and polishes until you remove the buildup.
- Does alcohol-based sanitizer touch it often? That can soften certain finishes, especially on desktops and side tables.
- Any strong smell from cleaners? Strong solvents indoors can be irritating; ventilate and consider safer options.
Protection habits that keep wood looking clean longer
Learning how to clean wooden furniture properly is only half the win. The other half is preventing the kind of mess that needs “deep cleaning.”
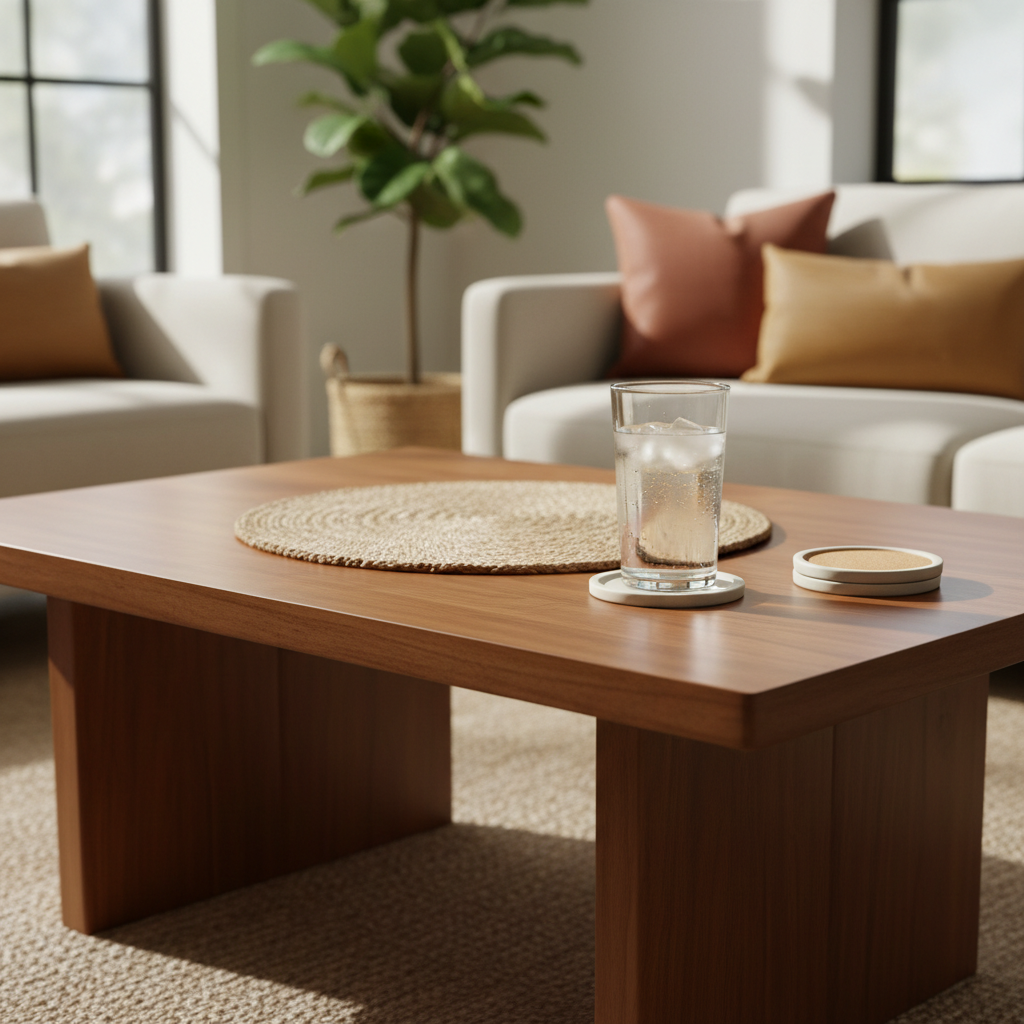
Small habits make a noticeable difference, especially on dining tables and coffee tables.
- Use coasters and trivets even when you “won’t be long.” Rings happen fast.
- Wipe spills immediately, then dry the area; don’t leave a damp patch to air-dry.
- Keep sun exposure in mind: UV can change color over time, so rotate decor occasionally.
- Skip frequent heavy polishing. If you like the look of polish, use it sparingly and watch for film buildup.
When to stop DIY and get professional help
Some furniture problems look like “dirt,” but they’re really finish failure or water intrusion. In those cases, cleaning harder can make repair more expensive.
- Antiques or heirlooms where value depends on preserving original finish.
- Peeling, lifting veneer, or bubbling that suggests moisture got underneath.
- Large cloudy patches that don’t improve after gentle cleaning and thorough drying.
- Strong chemical exposure (paint stripper, harsh degreaser) where the finish may be compromised.
If you’re unsure, a local furniture restoration shop can usually tell you quickly whether you’re looking at buildup, finish damage, or a deeper issue.
Key takeaways + a simple plan for this week
Most people don’t need a cabinet full of products. They need a consistent light routine and fewer “miracle” cleaners that leave residue.
- Keep moisture minimal, and always buff dry.
- Match the approach to the finish, especially on older pieces.
- Fix the cause (coasters, quick wipe-downs) so you clean less aggressively.
If you do one thing today, run the 2-minute self-check and switch to the two-cloth method. It’s boring, but it works.
FAQ
How often should I clean wood furniture?
Light dusting can be weekly, while damp wiping is usually “as needed.” If you find yourself damp-cleaning daily, it’s worth checking whether a polish film is attracting grime.
Can I use vinegar and water on wood furniture?
Sometimes, in a very diluted mix, it can be okay on certain sealed finishes, but it can also dull or haze others. If you want the safest baseline, stick to mild soap and water and test first.
What’s the safest cloth for wood surfaces?
A clean microfiber cloth is the most forgiving for routine care. Rough paper towels and abrasive pads can leave tiny scratches that show up as dullness under light.
How do I clean wooden furniture properly if it’s antique?
Use the gentlest method: dry dusting, then a barely damp cloth and immediate drying. Avoid alcohol-based products and aggressive cleaners; antiques often have finishes that react unpredictably.
Why does my table feel sticky after I “clean” it?
That sticky feel is often product buildup rather than dirt. Try mild soap dilution, rinse with a plain-water wipe, then buff dry; avoid adding more polish until the tackiness is gone.
Do I need furniture polish every time?
Usually no. Polish can improve shine, but frequent use can create a film that traps dust. Many households do better with simple cleaning and occasional polishing only when the surface truly looks dry or dull.
Is it okay to use disinfecting wipes on wood?
It depends on the wipe ingredients and the finish. Some disinfectants can haze or soften finishes with repeated use. If sanitizing is important, consider using a product labeled safe for finished wood and test in a hidden area.
If you’re cleaning a mix of dining tables, cabinets, and older pieces and you’d rather not guess, it can help to standardize your routine with a finish-safe cleaner, the right cloths, and a simple checklist so every room gets the same low-risk care.