
How to arrange framed photos on wall gallery comes down to three things: picking a layout that fits your wall, keeping spacing consistent, and hanging with a repeatable measuring method so nothing looks “almost straight.”
If you’ve ever stepped back after hanging a few frames and felt something was off, you’re not alone. Most gallery walls fail for boring reasons—wrong scale for the wall, inconsistent gaps, and a layout that doesn’t match the room’s focal point.
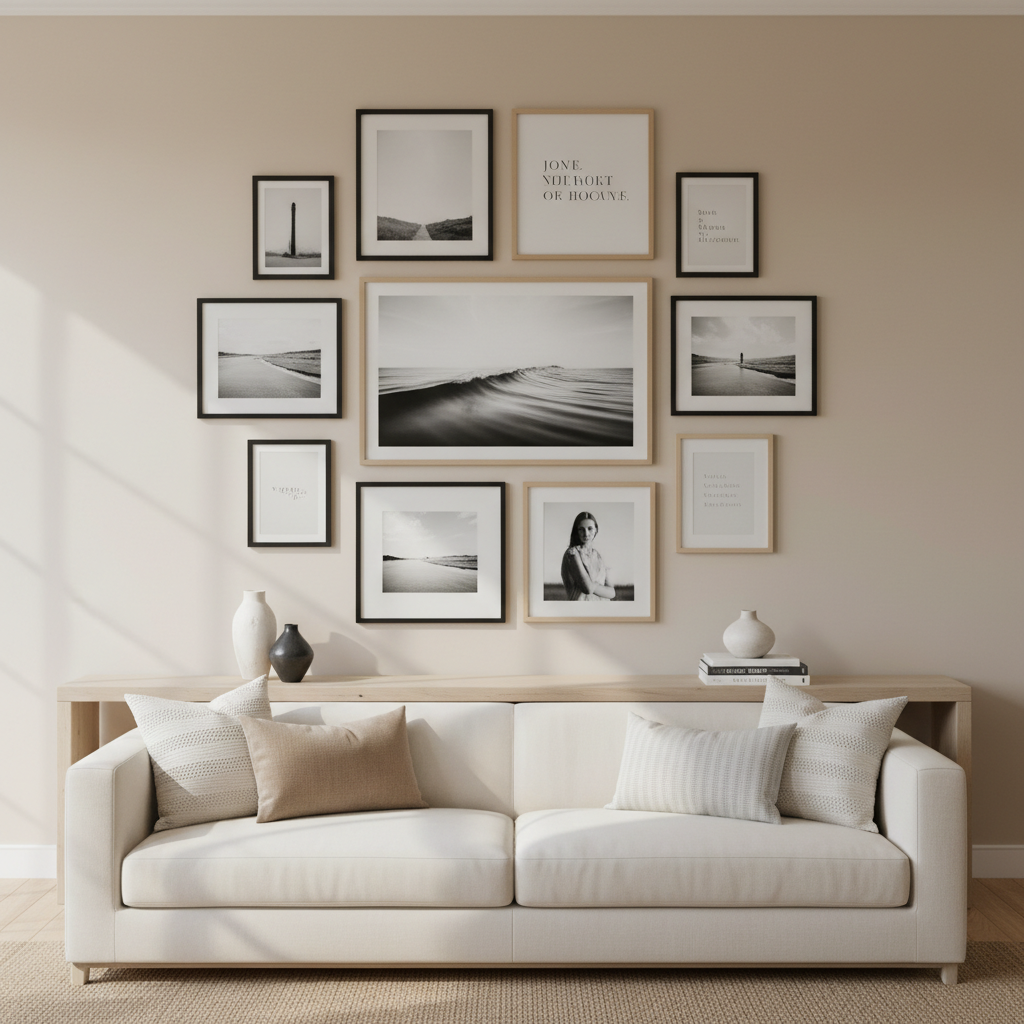
This guide keeps it practical: how to choose a layout, quick math for spacing, a simple paper-template trick, and what to do when your frames don’t match. You’ll also get a checklist and a small sizing table so you can plan before you put holes in the wall.
Start with the “job” of the gallery wall (and the wall’s real constraints)
Before you touch a hammer, decide what the gallery wall needs to do in the room. That decision quietly answers most layout questions.
- Anchor a focal point: above a sofa, bed, or console table. Here, symmetry and consistent spacing usually feel calmer.
- Fill a blank wall: a hallway or stairwell. Here, a looser salon-style arrangement often looks more natural.
- Connect a space: open-plan living/dining areas. A gallery can “draw a boundary,” so scale matters more than frame perfection.
Now measure the wall area you can actually use, not the entire wall. Doors swing, lamps sit proud, HVAC returns exist. These details decide where the edges of your frame cluster should land.
Choose a layout style that matches your frames (not your Pinterest board)
There’s no one right answer for how to arrange framed photos on wall gallery, but there are a few layouts that succeed more often because they match how people buy frames in real life.
Three layouts that work in most American homes
- Grid: best when you have identical frames or can fake “visual sameness” with matching mats.
- Centered row (aka “rail”): one strong horizontal line (great above sofas), with smaller pieces orbiting.
- Organic cluster: mixed sizes, mixed orientation, still controlled by consistent spacing and one or two anchors.
A quick gut-check: if your frames are all different sizes, a strict grid tends to look like an accident, not a choice. If your frames mostly match, organic layouts can look oddly busy unless your art/photos share a color story.
Get the sizing right: scale, margins, and a simple spacing rule
Most gallery walls look wrong because the cluster is too small for the furniture beneath it, or because the outer edges feel random. You’re aiming for a clean “visual rectangle,” even if the frames inside it vary.
Easy rules that keep you out of trouble
- Leave breathing room at the edges: keep the whole gallery at least 4–8 inches from adjacent walls, door trim, and tall furniture, when possible.
- Keep spacing consistent: 2 inches is a safe default for small-to-medium frames, 2.5–3 inches for larger pieces.
- Hang at comfortable viewing height: many installers target the center of the overall arrangement around eye level. According to The Smithsonian Institution, artworks are often displayed so the center sits around 57 inches from the floor, which is a common gallery standard.
Quick planning table (use as a starting point)
This is not a law, just a reliable starting place when you’re planning the “footprint” of the gallery above furniture.
| Furniture width | Suggested gallery width | Suggested gap above furniture |
|---|---|---|
| 48 in (small console) | 32–40 in | 6–8 in |
| 72 in (standard sofa) | 48–60 in | 6–10 in |
| 96 in (large sofa/sectional span) | 64–80 in | 8–12 in |
If your arrangement starts looking “floaty,” it usually means it’s too high, too narrow, or both.
Plan on the floor first, then move to the wall with templates
Floor planning feels slow, but it saves you from the most common gallery wall spiral: hang one, adjust, hang another, patch later. You can avoid that.
Floor planning method (15–30 minutes, usually)
- Lay out your frames on the floor roughly in the shape you want (rectangle, soft arch, or a long horizontal).
- Pick one “hero” frame (largest or most important photo) and place it slightly off-center if you want a casual look, or dead center for a formal look.
- Adjust until your outer edges look intentional. Take a photo from standing height to spot weird gaps.
Template method that reduces wall mistakes
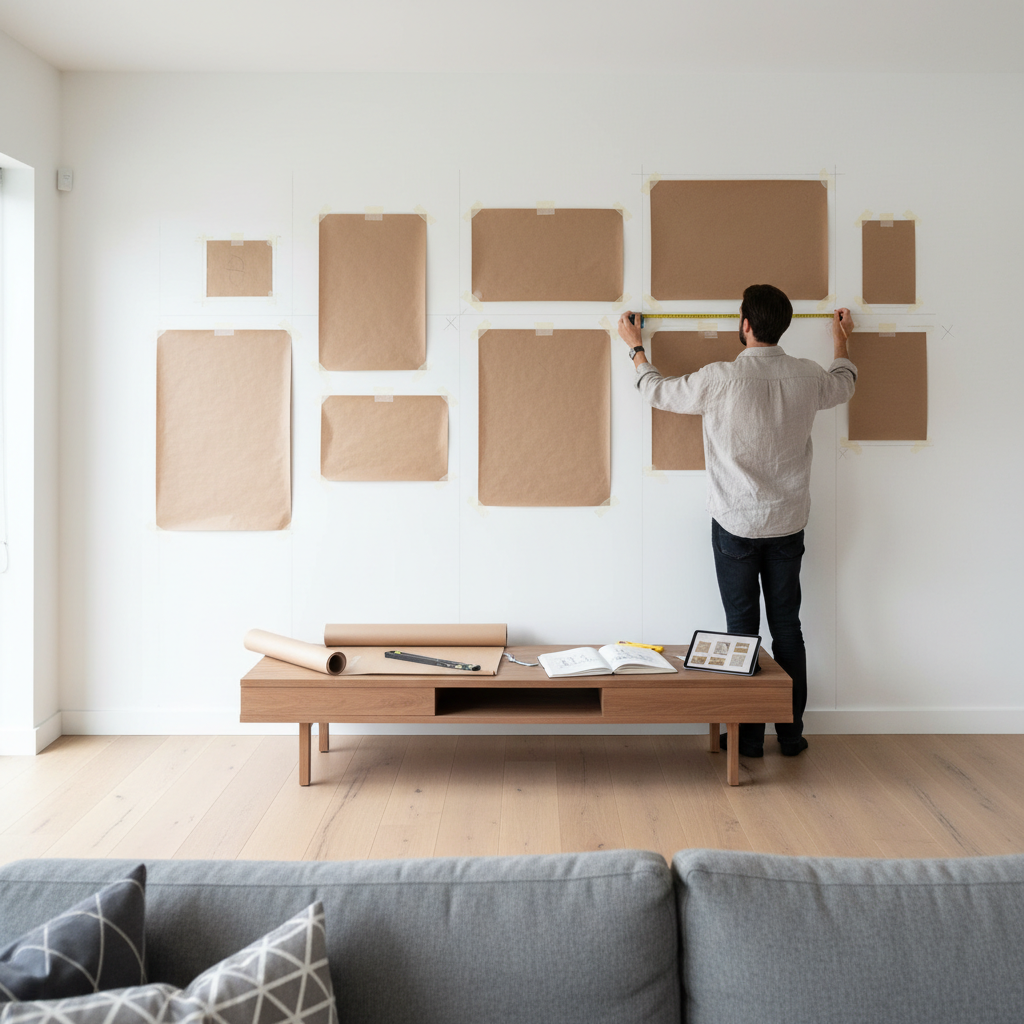
- Trace each frame on kraft paper or use painter’s tape outlines.
- Mark the hanging point on each template: where the nail/screw will go relative to the top of the frame (measure from hardware to frame top).
- Tape templates to the wall, step back, and tweak spacing before committing.
When people ask me how to arrange framed photos on wall gallery without endless re-hanging, this template step is usually the answer. It feels old-school because it works.
Hanging day: tools, hardware choices, and a clean order of operations
You don’t need a garage full of tools, but the right basics make the job calm instead of chaotic.
Basic tools
- Painter’s tape and pencil
- Tape measure (a laser measure is nice, not required)
- Level (or a level app in a pinch)
- Hammer or drill, plus appropriate anchors
Pick the right hardware for your wall
Drywall is common in the US, but weight, studs, and plaster vary by home age. According to The Home Depot, choosing anchors based on wall type and the item’s weight rating helps prevent pull-out and wall damage.
- Light frames: picture hooks or small nails can be enough.
- Medium frames: drywall anchors or hanging systems tend to hold better.
- Large or heavy frames: consider hitting studs or using heavy-duty anchors, and when unsure, it’s reasonable to ask a handyman.
A hang order that stays straight
- Start with the hero frame (or the center line in a grid).
- Build outward, checking level every 1–2 frames.
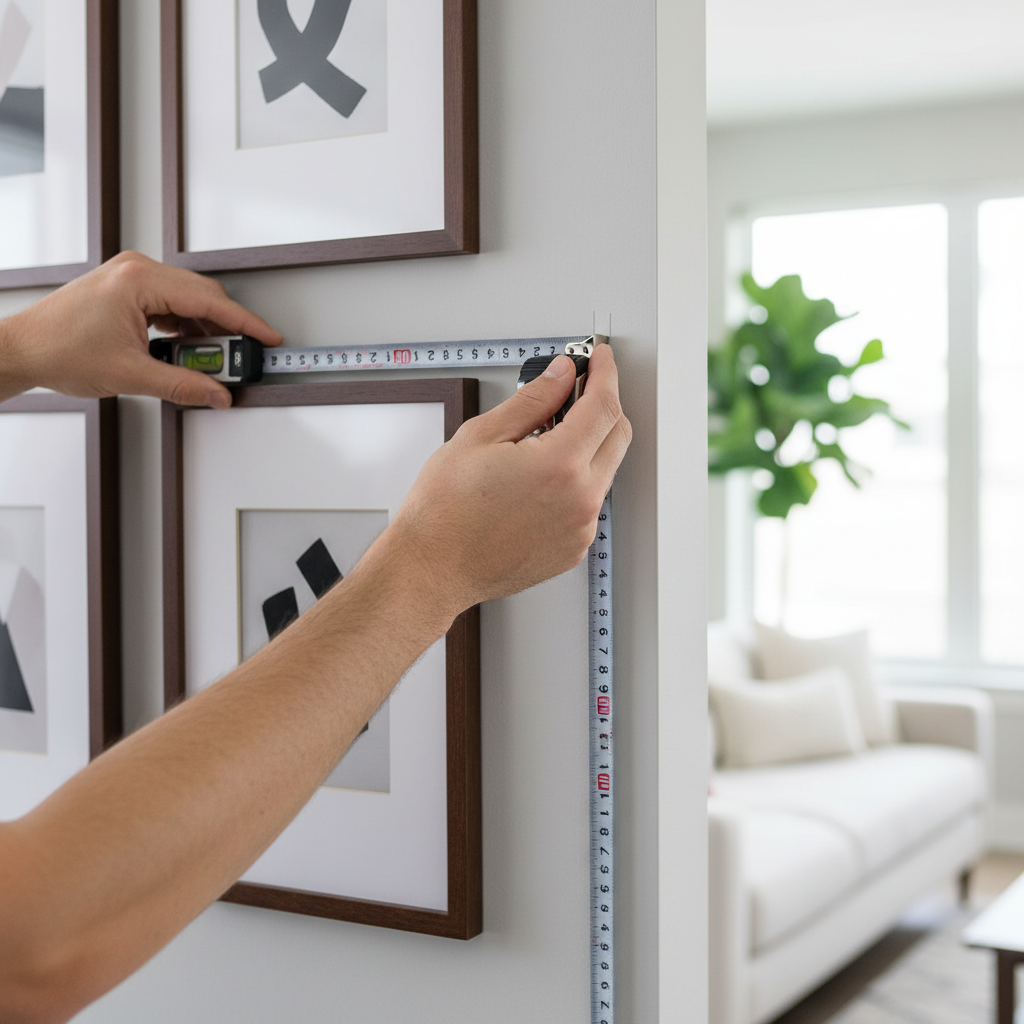
- Keep a consistent gap using a spacer (a cut piece of cardboard at 2 inches works).
Make mismatched frames look intentional (color, mats, and rhythm)
If your frames aren’t identical, you can still get a polished look. You just need one unifying decision so your eye stops seeing “random.”
- Use consistent matting: matching white mats can make different frame sizes feel like a set.
- Limit frame finishes: try to stay within 2 finishes (for example, black + natural oak).
- Create rhythm: repeat a size or orientation every few frames, like sprinkling three 8x10s across the layout.
- Keep photo tones compatible: if half are warm and half are cool, consider converting a few to black-and-white for cohesion.
This is the part most people skip when learning how to arrange framed photos on wall gallery, then wonder why the arrangement feels busy even when spacing is perfect.
Common mistakes (and quick fixes that don’t require redoing everything)
- Too high on the wall: if the gallery “floats,” lower the entire cluster by shifting the top row down a couple inches, then re-level.
- Inconsistent spacing: pick one gap and enforce it. You can often fix this by moving only one problem frame, not all of them.
- No clear edges: if the outline is jagged, add one more small frame to “square off” the outside.
- Overcrowding: if every frame touches visually, remove one piece and give the rest room. Less can look more expensive.
- Glare: move glossy frames away from direct window reflections, or use matte frames where glare is unavoidable.
Key takeaways you can use immediately
- Pick a layout that matches your frame mix, not just what looks good online.
- Plan the footprint first, then keep spacing consistent with a simple spacer.
- Templates prevent regret, especially with mixed sizes.
- Unify mismatched frames with mats, limited finishes, and repeated sizes.
Conclusion: a gallery wall should feel calm, not like a weekend project that got away from you
If you want a gallery that looks intentional, commit to one layout logic, one spacing rule, and one unifying design choice, then hang from the center outward. That combination solves most “something feels off” moments without overthinking it.
Your next step can be simple: pick your wall, measure the usable area, then do a floor layout and snap a photo. If the photo looks balanced, your wall version usually will too.
FAQ
What is the easiest way for beginners learning how to arrange framed photos on wall gallery?
Use a small grid or a centered row above a sofa, keep gaps at about 2 inches, and hang with paper templates so you’re adjusting tape, not nail holes.
How far apart should frames be in a gallery wall?
Many homes look good around 2 inches for smaller frames and 2.5–3 inches for larger ones. The “right” spacing is the spacing you can keep consistent across the whole cluster.
Should all frames match?
No. Matching frames make a grid easier, but mixed frames can look elevated if you unify with mats, limit finishes, and repeat a few sizes so it feels curated.
How do I center a gallery wall above a couch?
Mark the couch center on the wall with painter’s tape, then align your hero frame (or the grid center) to that mark. If the couch sits off-center in the room, centering to the couch usually looks better than centering to the wall.
How do I arrange framed photos on wall gallery if I only have three to five frames?
Go simple: one larger frame in the middle with two smaller pieces flanking, or a straight row. With fewer frames, spacing and level lines matter more than variety.
What if my wall is plaster or I’m renting?
Plaster can be brittle, so drilling and anchors may need extra care, and it can be smart to consult a local pro if you’re unsure. For rentals, removable hanging solutions can work for lighter frames, but always check weight ratings and your lease terms.
How do I avoid crooked frames over time?
Use two hooks for wider frames when possible, add rubber bumpers to the bottom corners, and check that your hanging wire or hardware sits firmly on the hook instead of riding up.
If you’re trying to arrange framed photos quickly and you want it to look cohesive without a lot of trial-and-error, it often helps to start with a pre-planned layout and matching frame set, then swap in your own photos once the spacing and footprint already make sense.