
diy wooden floating nightstand for bedroom projects are one of the fastest ways to get storage beside the bed without sacrificing precious floor space, especially in a small room where every inch feels spoken for.
If your nightstand constantly looks “in the way” or you can’t open a dresser drawer because the table blocks it, a floating version fixes that problem while still giving you a spot for a lamp, book, charger, and water glass.
The good news, most builds are more approachable than they look. The bad news, the part that trips people up is not the woodwork, it’s mounting and planning around studs, outlets, and mattress height. This guide keeps the build simple, but treats the wall attachment like the serious part it is.
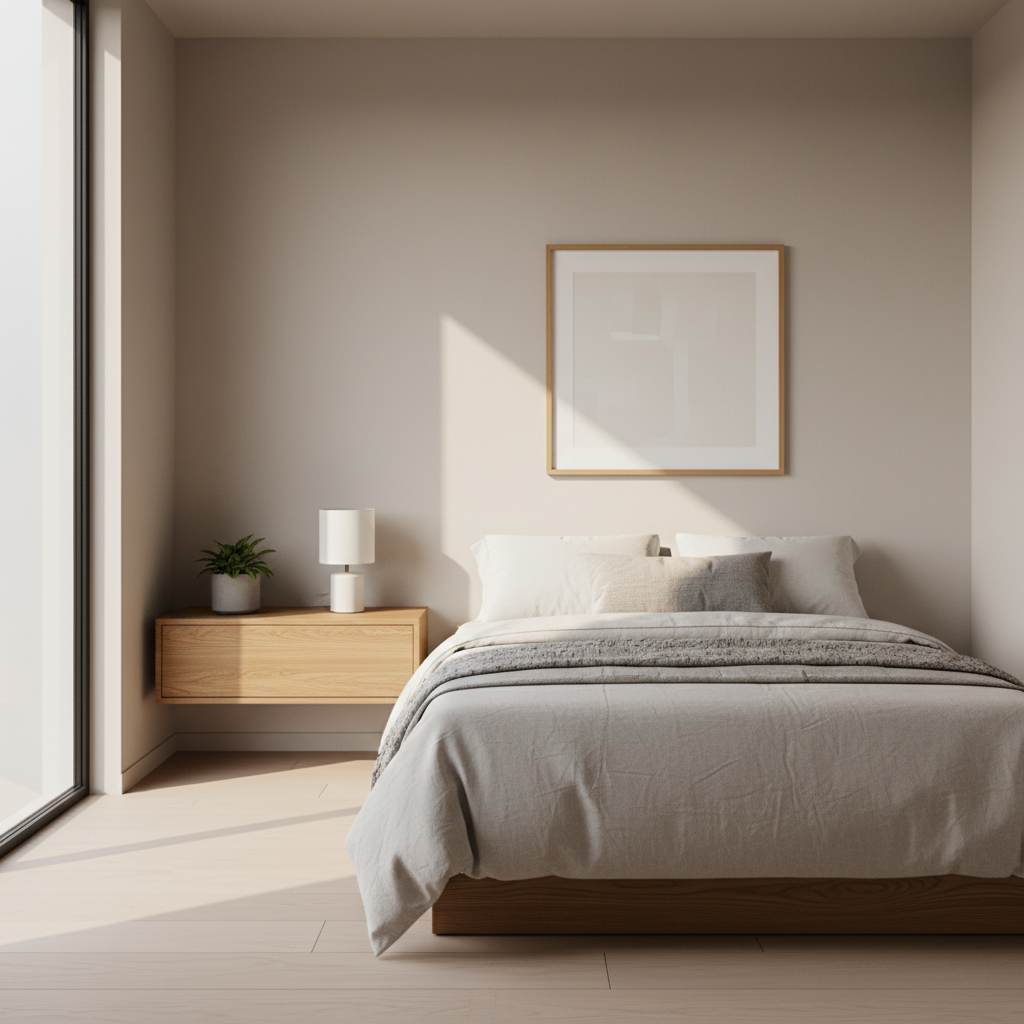
Why a floating nightstand makes sense in small bedrooms
When you mount storage on the wall, the floor stays visually open, and that alone can make a tight bedroom feel calmer. It also gives you practical wins that a regular table can’t always deliver.
- More usable floor space for laundry baskets, a slim bench, or just easier vacuuming.
- Better fit with tight layouts, like beds pushed into corners or next to closet doors.
- Custom height, so your top surface sits where your hand naturally lands.
- Cleaner cable routing when outlets sit mid-wall and cords usually drape awkwardly.
There is one honest tradeoff: the wall mount has to be done right. A floating shelf that holds a book is forgiving, but a nightstand that takes daily bumps needs a sturdier approach.
Quick self-check: is this the right DIY for your room?
Before you buy lumber, get clear on whether your wall and habits match this build. Most people can still do it, but the “how” changes depending on a few details.
- You have at least one stud within the width of the nightstand, or you’re willing to use a cleat that spans to studs.
- Your ideal top height is typically near mattress height (many people prefer it close to the top of the mattress, but comfort varies).
- You want light-to-moderate load: phone, lamp, book, glasses, maybe a small drawer. If you want to sit on it, rethink the design.
- You can tolerate a few wall holes and basic patching later.
If you rent, check your lease and consider a design that mounts to a single board that can be removed and patched more easily. If you have plaster walls or masonry, it’s still possible, but you may want to consult a pro or at least use anchors rated for that surface.
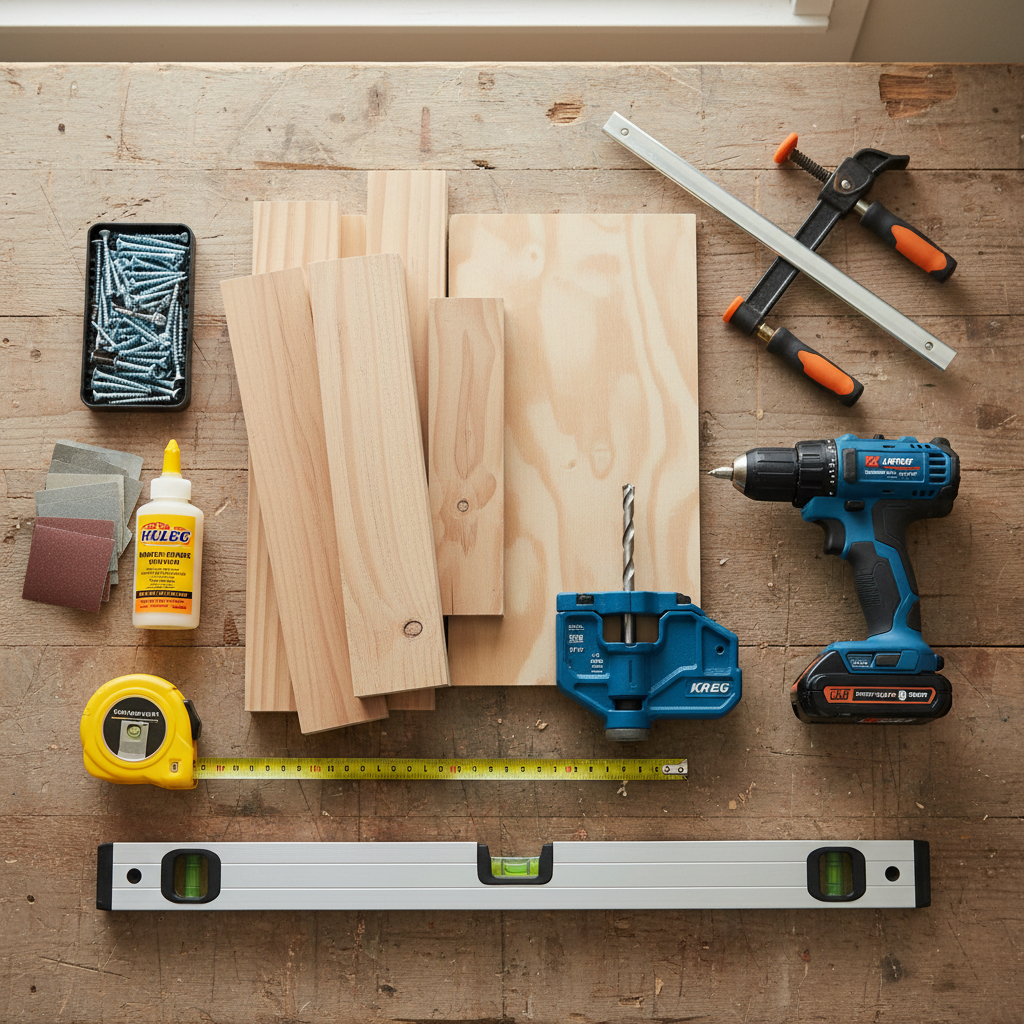
Tools, wood, and hardware: what to buy (and what to skip)
For a small-bedroom build, you’re usually aiming for strong, stable, and not too bulky. In many cases, simple materials outperform fancy ones because they’re easier to keep square.
Recommended materials
- Wood: 3/4-inch plywood (cabinet-grade) for the box, or hardwood boards if you prefer a solid-wood look.
- Wall support: a French cleat, a ledger/cleat screwed into studs, or heavy-duty concealed floating shelf brackets rated for your load.
- Fasteners: quality wood screws, plus cabinet screws or structural screws for studs.
- Finish: wipe-on poly, hardwax oil, or paint plus primer (pick what matches your room and patience level).
Tools that make this smoother
- Stud finder, level, drill/driver, tape measure, square
- Either a circular saw with a guide or a miter saw for clean cuts
- Optional but nice: pocket hole jig, brad nailer, clamps
According to OSHA, using eye and hearing protection is recommended when operating power tools, and keeping your workpiece secured reduces the chance of kickback or slips. If you’re new to saws, take that part seriously.
Design options for a DIY wooden floating nightstand (pick one)
This is where you keep yourself from overbuilding. A diy wooden floating nightstand for bedroom use does not need to be complicated to look custom.
| Design | Best for | Difficulty | Notes |
|---|---|---|---|
| Simple box shelf (open) | Minimalist storage | Easy | Fast build, shows clutter if you overstuff it |
| Box with hidden bottom (cable slot) | Chargers and tidy look | Medium | Add a rear notch or grommet for cords |
| One drawer (shallow) | Hiding small items | Medium | Drawer slides add cost and measuring demands |
| Floating top + hanging cubby | Very tight spaces | Medium | Visually light, but needs strong wall support |
In small bedrooms, depth matters more than width. Many builds feel “too big” because they stick out too far, not because they’re wide. A shallower nightstand can still hold the essentials and reduce hip-bumps.
Step-by-step build: a clean box nightstand with a strong cleat mount
This approach balances beginner-friendly woodworking with a mount that behaves well over time. It’s also forgiving if your walls are not perfectly straight.
1) Plan your size and placement
- Pick a top height that feels natural from bed, then mark it with painter’s tape.
- Mark outlet location and decide where cords should exit (rear notch, bottom slot, or grommet).
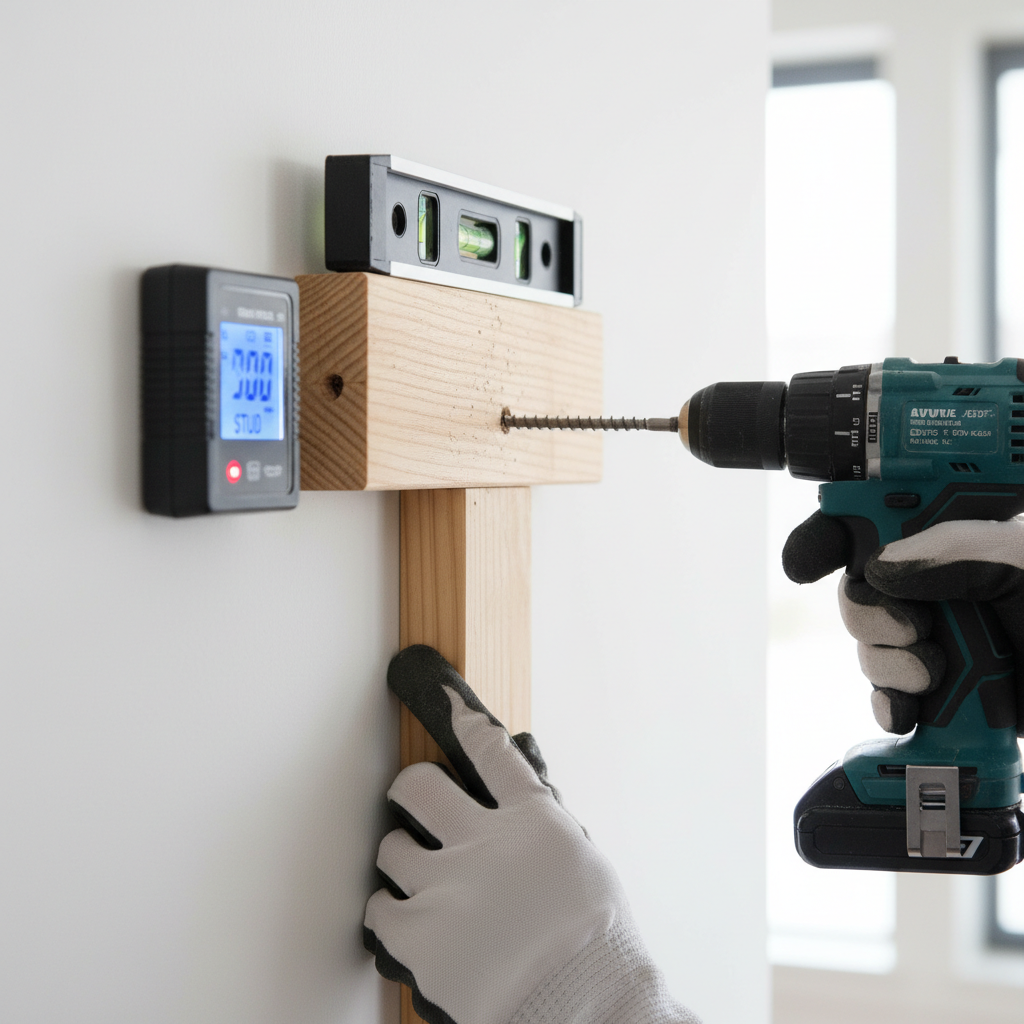
- Find studs and mark centerlines. If studs don’t line up with your ideal position, plan a wider cleat that spans two studs.
2) Cut parts for a basic box
- Top and bottom panels
- Two side panels
- Back panel (optional, but it adds stiffness and hides cords)
Dry-fit everything on a flat surface. If your “box” rocks on the bench, it usually means one cut is slightly off-square, fix that now rather than trying to force it later.
3) Assemble the box
- Use wood glue at joints, then screws or brad nails to hold while it cures.
- If using pocket holes, keep them on the underside or inside so the outside stays clean.
- Sand edges lightly before finishing, it’s easier now than after mounting.
4) Build the wall cleat (the “don’t mess this up” part)
- Make a sturdy cleat from hardwood or plywood, typically a strip that can anchor into studs.
- Attach one cleat piece to the wall studs using appropriate screws, check level twice.
- Attach the matching cleat piece inside the nightstand so it mates securely.
According to APA – The Engineered Wood Association, plywood strength and stiffness depend on thickness and orientation, so keep your cleat grain direction and fastener placement sensible. If that sentence feels too “engineery,” the practical takeaway is: don’t use flimsy offcuts for the part that holds weight.
5) Finish, then mount
- Apply your finish off-wall whenever possible, less mess and fewer drips.
- Hang the nightstand onto the cleat, then add a couple of anti-lift screws underneath if your design allows.
- Test gently with increasing pressure, then load it the way you actually use it.
Make it feel built-in: small upgrades that matter
You don’t need ornate trim to make this look intentional. A few small choices push it from “DIY shelf” to “custom nightstand.”
- Hidden cable path: cut a rear notch or add a grommet, then route cords so they drop straight down.
- Edge treatment: a slight round-over with sandpaper (or a router bit) feels more finished and less sharp in tight spaces.
- Integrated lip: a small front lip can prevent phones or glasses from sliding off, especially if your floors are not perfectly level.
- Wall gap control: if your wall bows, add small spacers so the box sits flat and doesn’t wobble.
If you want lighting, consider a wall sconce above the nightstand. That can remove the need for a tabletop lamp entirely, which keeps the surface usable.
Common mistakes (and how to avoid redoing work)
Most “failures” come from rushing the mounting or ignoring how people actually use the nightstand at night.
- Relying on drywall anchors alone: for many loads, anchors may work, but nightstands get bumped. When possible, hit studs or span to them with a ledger board.
- Making it too deep: in small bedrooms, extra depth turns into bruised hips and cramped walking paths.
- Skipping a cord plan: you end up with messy cables and the nightstand pulls away from the wall.
- Finishing after mounting: it’s doable, but drips and missed corners are common.
Key takeaway: treat the wall connection as part of the furniture, not an afterthought. A beautiful box on a questionable mount still feels bad to use.
When to get help (or at least slow down)
If any of these describe your situation, it may be worth asking a contractor, handy friend, or hardware store pro for input, even if you still do the build yourself.
- You have plaster and lath, masonry, or unknown wall construction
- You can’t find studs where you need them, or studs are damaged
- You want a heavier design with a drawer full of items plus a heavy lamp
- You’re mounting near electrical wiring and feel unsure about drilling locations
According to the U.S. Consumer Product Safety Commission (CPSC), furniture tip-over and stability are real safety considerations in homes. A floating nightstand changes the risk profile compared to a floor-standing piece, so if kids might pull on it, build and mount more conservatively and consider a simpler, shallower design.
Conclusion
A diy wooden floating nightstand for bedroom spaces is really a space-planning upgrade disguised as a weekend project, you get storage where you need it and you get the floor back, which matters more than most people expect.
If you do one thing today, find your stud locations and mark your ideal nightstand height with tape, that quick check tells you whether a simple cleat mount will work or whether you should adjust the design before buying materials.
If you’re ready to build, keep the box straightforward, spend extra care on the mount, and you’ll end up with something that looks intentional and feels solid every night.
FAQ
How high should I hang a floating nightstand next to the bed?
Many people like the top close to mattress height so you can reach items without sitting up much, but it depends on your bed frame and how you sleep. Tape a “mock top” line on the wall and test for a night or two if you’re unsure.
Can I mount a floating nightstand without studs?
In many cases, you can use heavy-duty anchors rated for your wall type, but it’s less forgiving because nightstands take daily lateral bumps. If studs are unavailable where you want it, a wider cleat board spanning to studs is often the cleaner fix.
What wood is best for a floating nightstand?
Cabinet-grade plywood is stable and stays flatter than some cheap solid boards, especially in wider panels. Hardwood looks great but can move with humidity, so build with that in mind and keep joinery simple.
How much weight can a wooden floating nightstand hold?
It varies with bracket type, screw choice, stud engagement, and wall condition, so there’s no single safe number. If you expect heavier loads, choose a mount designed for furniture, anchor into studs, and consider consulting a professional.
How do I hide charging cables on a floating nightstand?
A rear notch aligned with the outlet is the simplest approach, and a grommet can look more finished. Leave enough slack so cords don’t tug the nightstand when you unplug your phone half-awake.
Should I add a drawer to a floating nightstand in a small bedroom?
A shallow drawer is great for keeping clutter off the surface, but it raises build complexity because slides need precise spacing. If you want the clean look without the fuss, an open cubby with a small basket often gives a similar result.
What finish is easiest for a beginner?
Wipe-on polyurethane is commonly beginner-friendly because it levels well and is hard to mess up with thin coats. If you’re sensitive to fumes, consider water-based finishes and follow ventilation guidance on the label.
Will a floating nightstand damage the wall?
You’ll usually have a few screw holes to patch when you remove it. If you mount into studs with a cleat, the holes are straightforward to fill, match paint, and forget about later.
If you’re building in a very tight room and want a more “measured” plan, sketch your wall with stud marks, outlet height, and your preferred surface height, then choose the simplest design that meets your needs, it’s often the difference between a quick win and a frustrating redo.