
Rental kitchen makeover ideas on budget usually come down to one thing, making the space feel cleaner, brighter, and more “you” without doing anything your landlord can charge you for.
If you’ve ever stared at orange oak cabinets, dim lighting, or tired vinyl floors and thought “I guess I’m stuck,” you’re not alone. Kitchens drive how a home feels day to day, and in rentals they’re often the most dated room, which is why small visual changes matter a lot.
This guide focuses on renter-safe swaps, what tends to be worth the effort, and what looks tempting online but becomes a headache fast. You’ll also get a quick decision checklist, a budget table, and a simple plan you can knock out over a weekend.
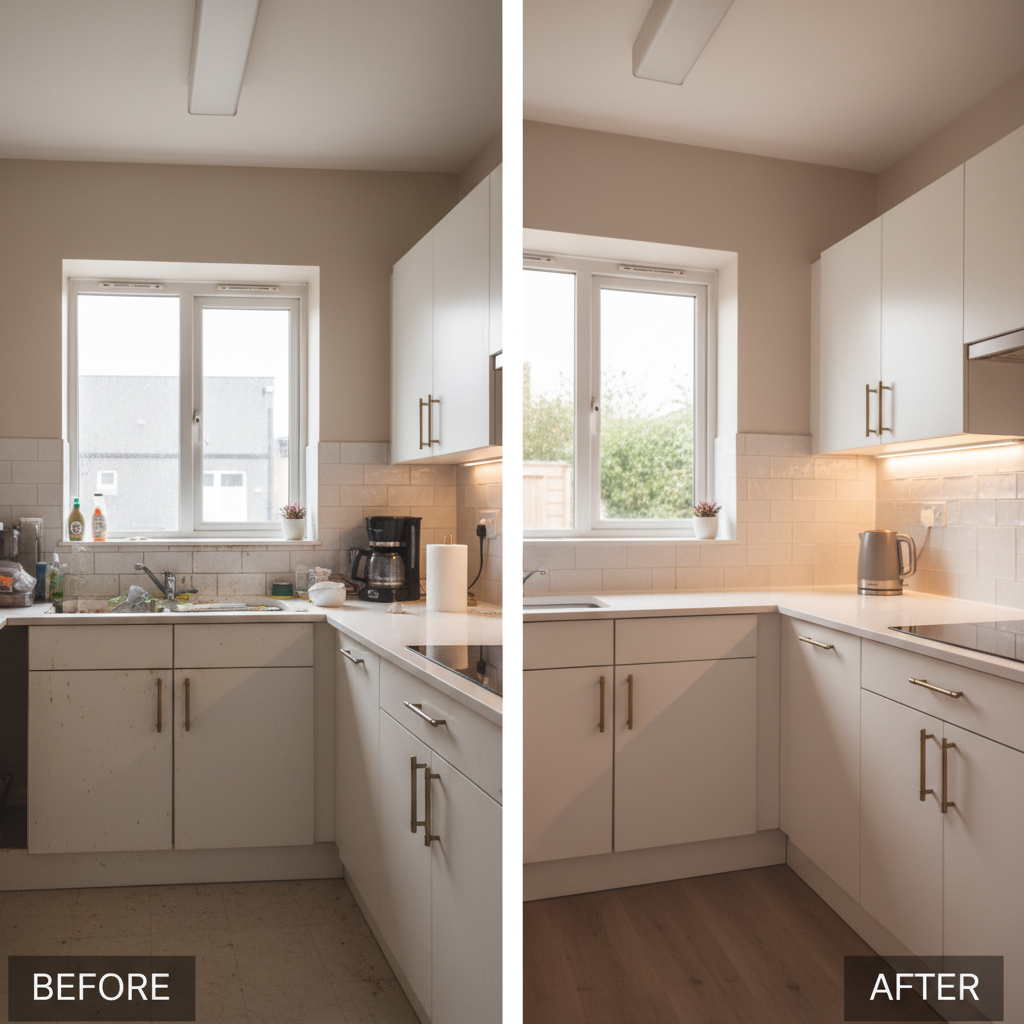
Start with what landlords care about: what you can’t damage
Before buying anything, treat this like a deposit-protection project. Most rentals allow “reversible” changes, but the definition varies, and your lease may be more strict than your neighbor’s.
According to the Federal Trade Commission (FTC), renters should read the lease and document condition issues to avoid disputes later. In practice, that means photos, a quick email to confirm what you’ll do, and keeping product packaging or receipts in case you need to show “removable” claims.
- Usually safe: adhesive hooks used correctly, peel-and-stick backsplash rated removable, swap cabinet pulls (keep originals), stick-on LED lights, rugs, countertop organizers, non-permanent wall shelving systems.
- Often risky: painting cabinets, drilling into tile, changing plumbing fixtures, anything that alters electrical wiring.
- Gray zone: contact paper on countertops, wallpaper on textured walls, adhesive floor tiles on top of unknown flooring, it can remove cleanly or it can peel finishes, test first.
Why rental kitchens feel “bad” (and what fixes it fastest)
Many rental kitchens aren’t truly ugly, they’re just visually noisy and poorly lit. The good news, the fastest wins tend to be cheap.
- Bad lighting makes everything look older. Warm, even lighting hides scuffs and makes cabinets read smoother.
- Hardware ages a kitchen more than cabinets do. Brass-from-1997 knobs can drag the whole room down.
- Backsplash and counters sit at eye level. Your brain reads those surfaces first, even if you don’t realize it.
- Clutter multiplies fast. Small kitchens need “visible calm,” so organizing is part of the makeover, not a separate chore.
So if you want the biggest impact per dollar, prioritize light, hardware, and the vertical surfaces you stare at while cooking.
Quick self-check: which makeover path fits your kitchen?
This is where people waste money, buying pretty items that don’t solve their actual problem. Use this quick checklist to pick your path.
- If your kitchen feels dark: focus on bulbs, under-cabinet lighting, reflective backsplash options, and lighter textiles.
- If it feels dated: change pulls/knobs, add a peel-and-stick backsplash, hide eyesores with coordinated storage.
- If it feels cramped: reduce countertop items, add vertical rails/hooks, use slim rolling carts or over-sink additions.
- If you hate the counters: test removable countertop film in a hidden corner first, consider large cutting boards and counter trays as “coverage.”
- If you’re moving in <12 months: choose portable upgrades you can pack, lights, rugs, carts, shelf risers, organizers.
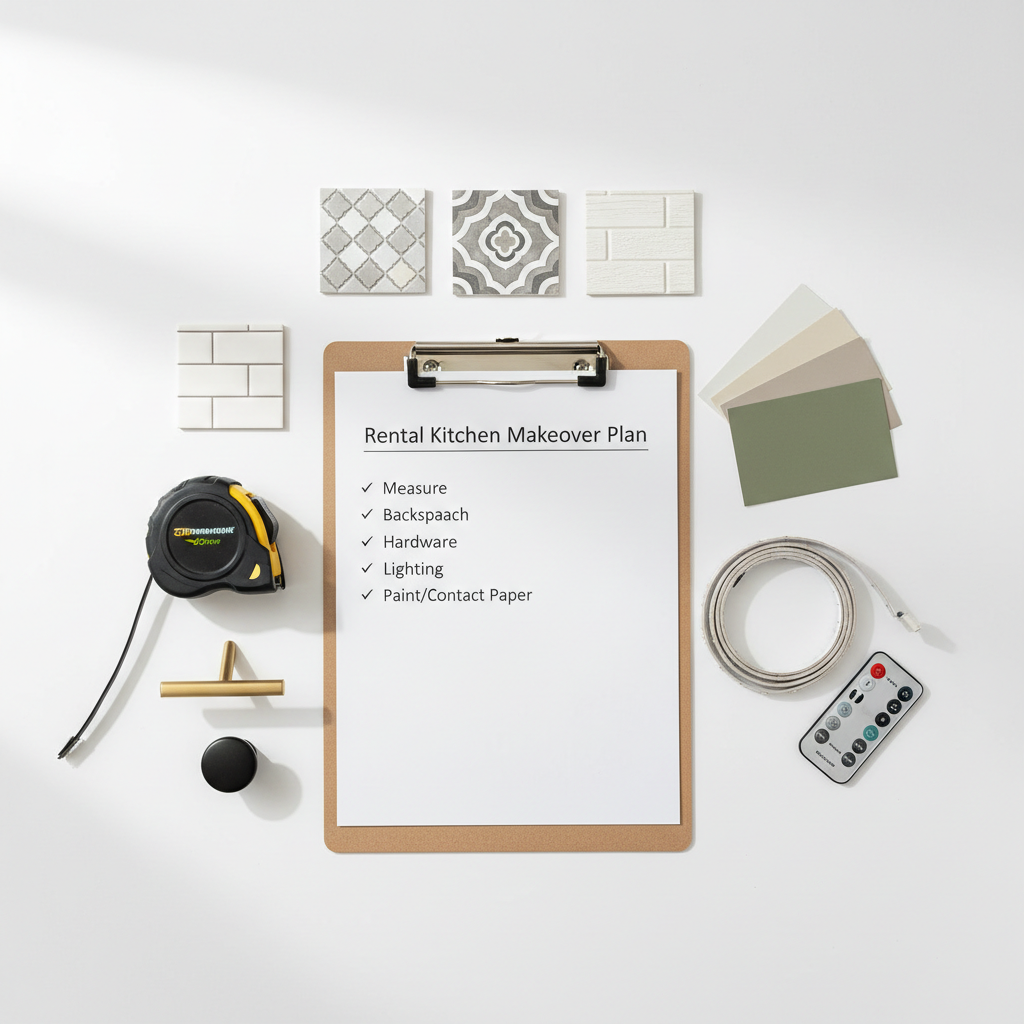
Budget breakdown: what upgrades cost and what they change
Prices vary by brand and kitchen size, but these ranges are typical for many U.S. renters shopping online or at big-box stores. Think of this as a prioritization tool, not a promise.
| Upgrade | Typical budget range | Impact | Renter-friendliness |
|---|---|---|---|
| LED under-cabinet lights (plug-in or battery) | $20–$80 | High | Very high |
| Cabinet pulls/knobs (set) | $25–$120 | High | High (keep originals) |
| Peel-and-stick backsplash | $40–$200 | High | Medium to high (test removal) |
| Faucet aerator swap | $5–$20 | Medium | Medium (ask first) |
| Rug/runner (washable) | $30–$150 | Medium | Very high |
| Countertop “coverage” (big board, trays) | $20–$120 | Medium | Very high |
| Rolling cart or slim pantry rack | $35–$140 | Medium | Very high |
Step-by-step: a weekend rental kitchen refresh (no power tools)
If you want a plan you can actually finish, this sequence tends to work because it avoids rework and keeps momentum.
1) Clean like you mean it (it changes the “before” instantly)
Degrease cabinet fronts, backsplash area, and the range hood. Adhesives fail on oily surfaces, and even hardware looks better after a solid wipe-down.
- Use a gentle degreaser, then dry completely.
- Scrape gunk from corners with a plastic scraper, avoid metal that can scratch finishes.
2) Fix lighting before anything decorative
Swap bulbs to a consistent color temperature and brightness, then add under-cabinet lights where you prep food. This single step often makes rental kitchen makeover ideas on budget feel “real” instead of cosmetic.
- Pick one tone across the kitchen, many people prefer warm-white for comfort, neutral-white for a cleaner look.
- Choose plug-in strips when possible, battery puck lights are convenient but need battery changes.
3) Replace cabinet hardware (and label the originals)
Hardware is a low-drama upgrade if you keep every original screw and pull in a labeled bag. If the existing holes don’t match your new pulls, stop and rethink, drilling new holes can violate your lease.
- Match hole spacing exactly (center-to-center) when buying pulls.
- For knobs, you usually have more flexibility.
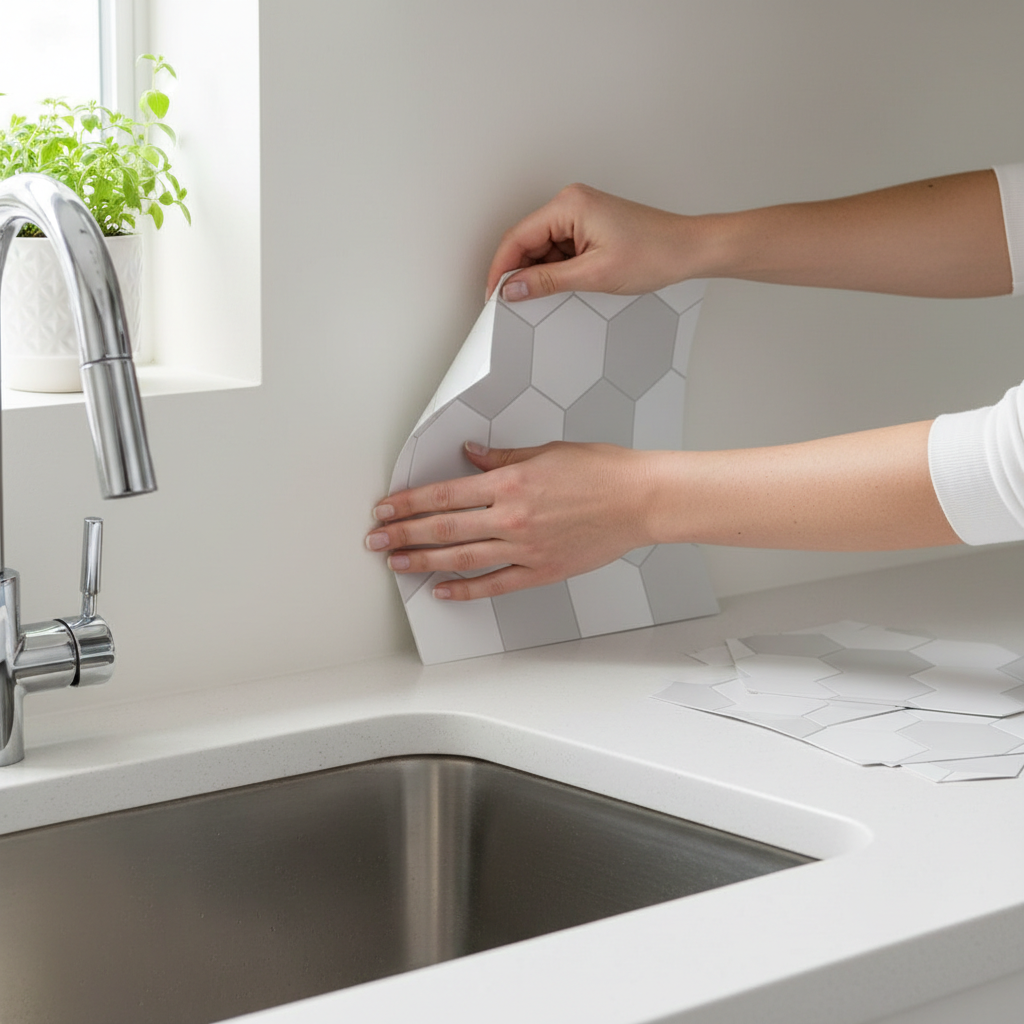
4) Add a removable backsplash or a “clean line” behind the sink
You don’t always need to tile the entire wall. In many rentals, doing the sink zone and the most visible section gives most of the benefit with less cost and less removal risk.
- Test a small piece behind an appliance for a week, then peel off to check paint or drywall paper.
- On textured walls, removable products may not adhere well, consider a freestanding backsplash board instead.
5) Tame counters with “zones,” not more containers
More organizers can create more clutter if every item becomes its own category. Aim for 2–3 zones: a cooking zone, a coffee zone, and a drop zone if you truly need it.
- Cover ugly counters: a large wood board, a stone-look mat rated for food-safe surfaces, or a tray that groups daily items.
- Go vertical: tension rods under the sink for sprays, magnetic strips on the fridge side for tools, over-sink racks if they don’t block faucet movement.
Common mistakes that waste money (and how to avoid them)
A lot of “budget makeovers” get expensive because the first attempt fails, then you buy the second solution. These are the traps I see most.
- Skipping surface testing. Adhesives can pull paint or leave residue, especially on older walls. Test, wait, then decide.
- Buying trendy finishes that clash. If your appliances are black, ultra-cool chrome might look harsh, warmer metals often read more cohesive.
- Overcommitting to countertop film. It can look great in photos, but seams, heat, and water around the sink make it tricky. If you do it, start with a small, low-splash area.
- Ignoring function. A cute open shelf that blocks cabinet doors becomes annoying fast, especially in tight rentals.
Key takeaways: prioritize lighting, keep changes reversible, test adhesives, and spend more on items you can take with you.
When to ask for permission or call a pro
Most of this article stays in “safe DIY,” but some changes cross into building systems, that’s where it’s smarter to slow down.
- Electrical: If you want to replace fixtures or hardwire lighting, ask your landlord and consider a licensed electrician. DIY wiring can be unsafe.
- Plumbing: Faucet swaps and shutoff valve issues vary by building age, if anything leaks or feels stuck, a plumber may be the right call.
- Mold or persistent odors: If you see staining under the sink or smell dampness, that’s not decor. Flag it to management, and if you have health concerns, consider speaking with a qualified professional.
According to the U.S. Consumer Product Safety Commission (CPSC), following manufacturer instructions and using products as intended helps reduce home injury risks, which matters when you’re installing lights, shelving, or anything overhead.
Conclusion: make it feel like yours, then make it easy to undo
The best rental kitchen refresh usually looks less like a renovation and more like a set of smart, reversible decisions, better light, cleaner lines, fewer distractions, and a couple of upgrades that you can pack into a box when you move.
If you want a simple next step, pick one high-impact change this week, under-cabinet lighting or hardware, then schedule one Saturday for backsplash or organization. That’s how rental kitchen makeover ideas on budget stop being “ideas” and start feeling like home.